YouTube tutorials I followed
Complete parts and tools list
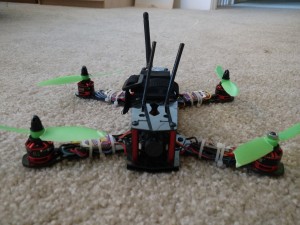
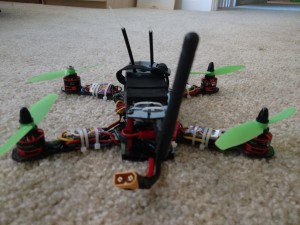
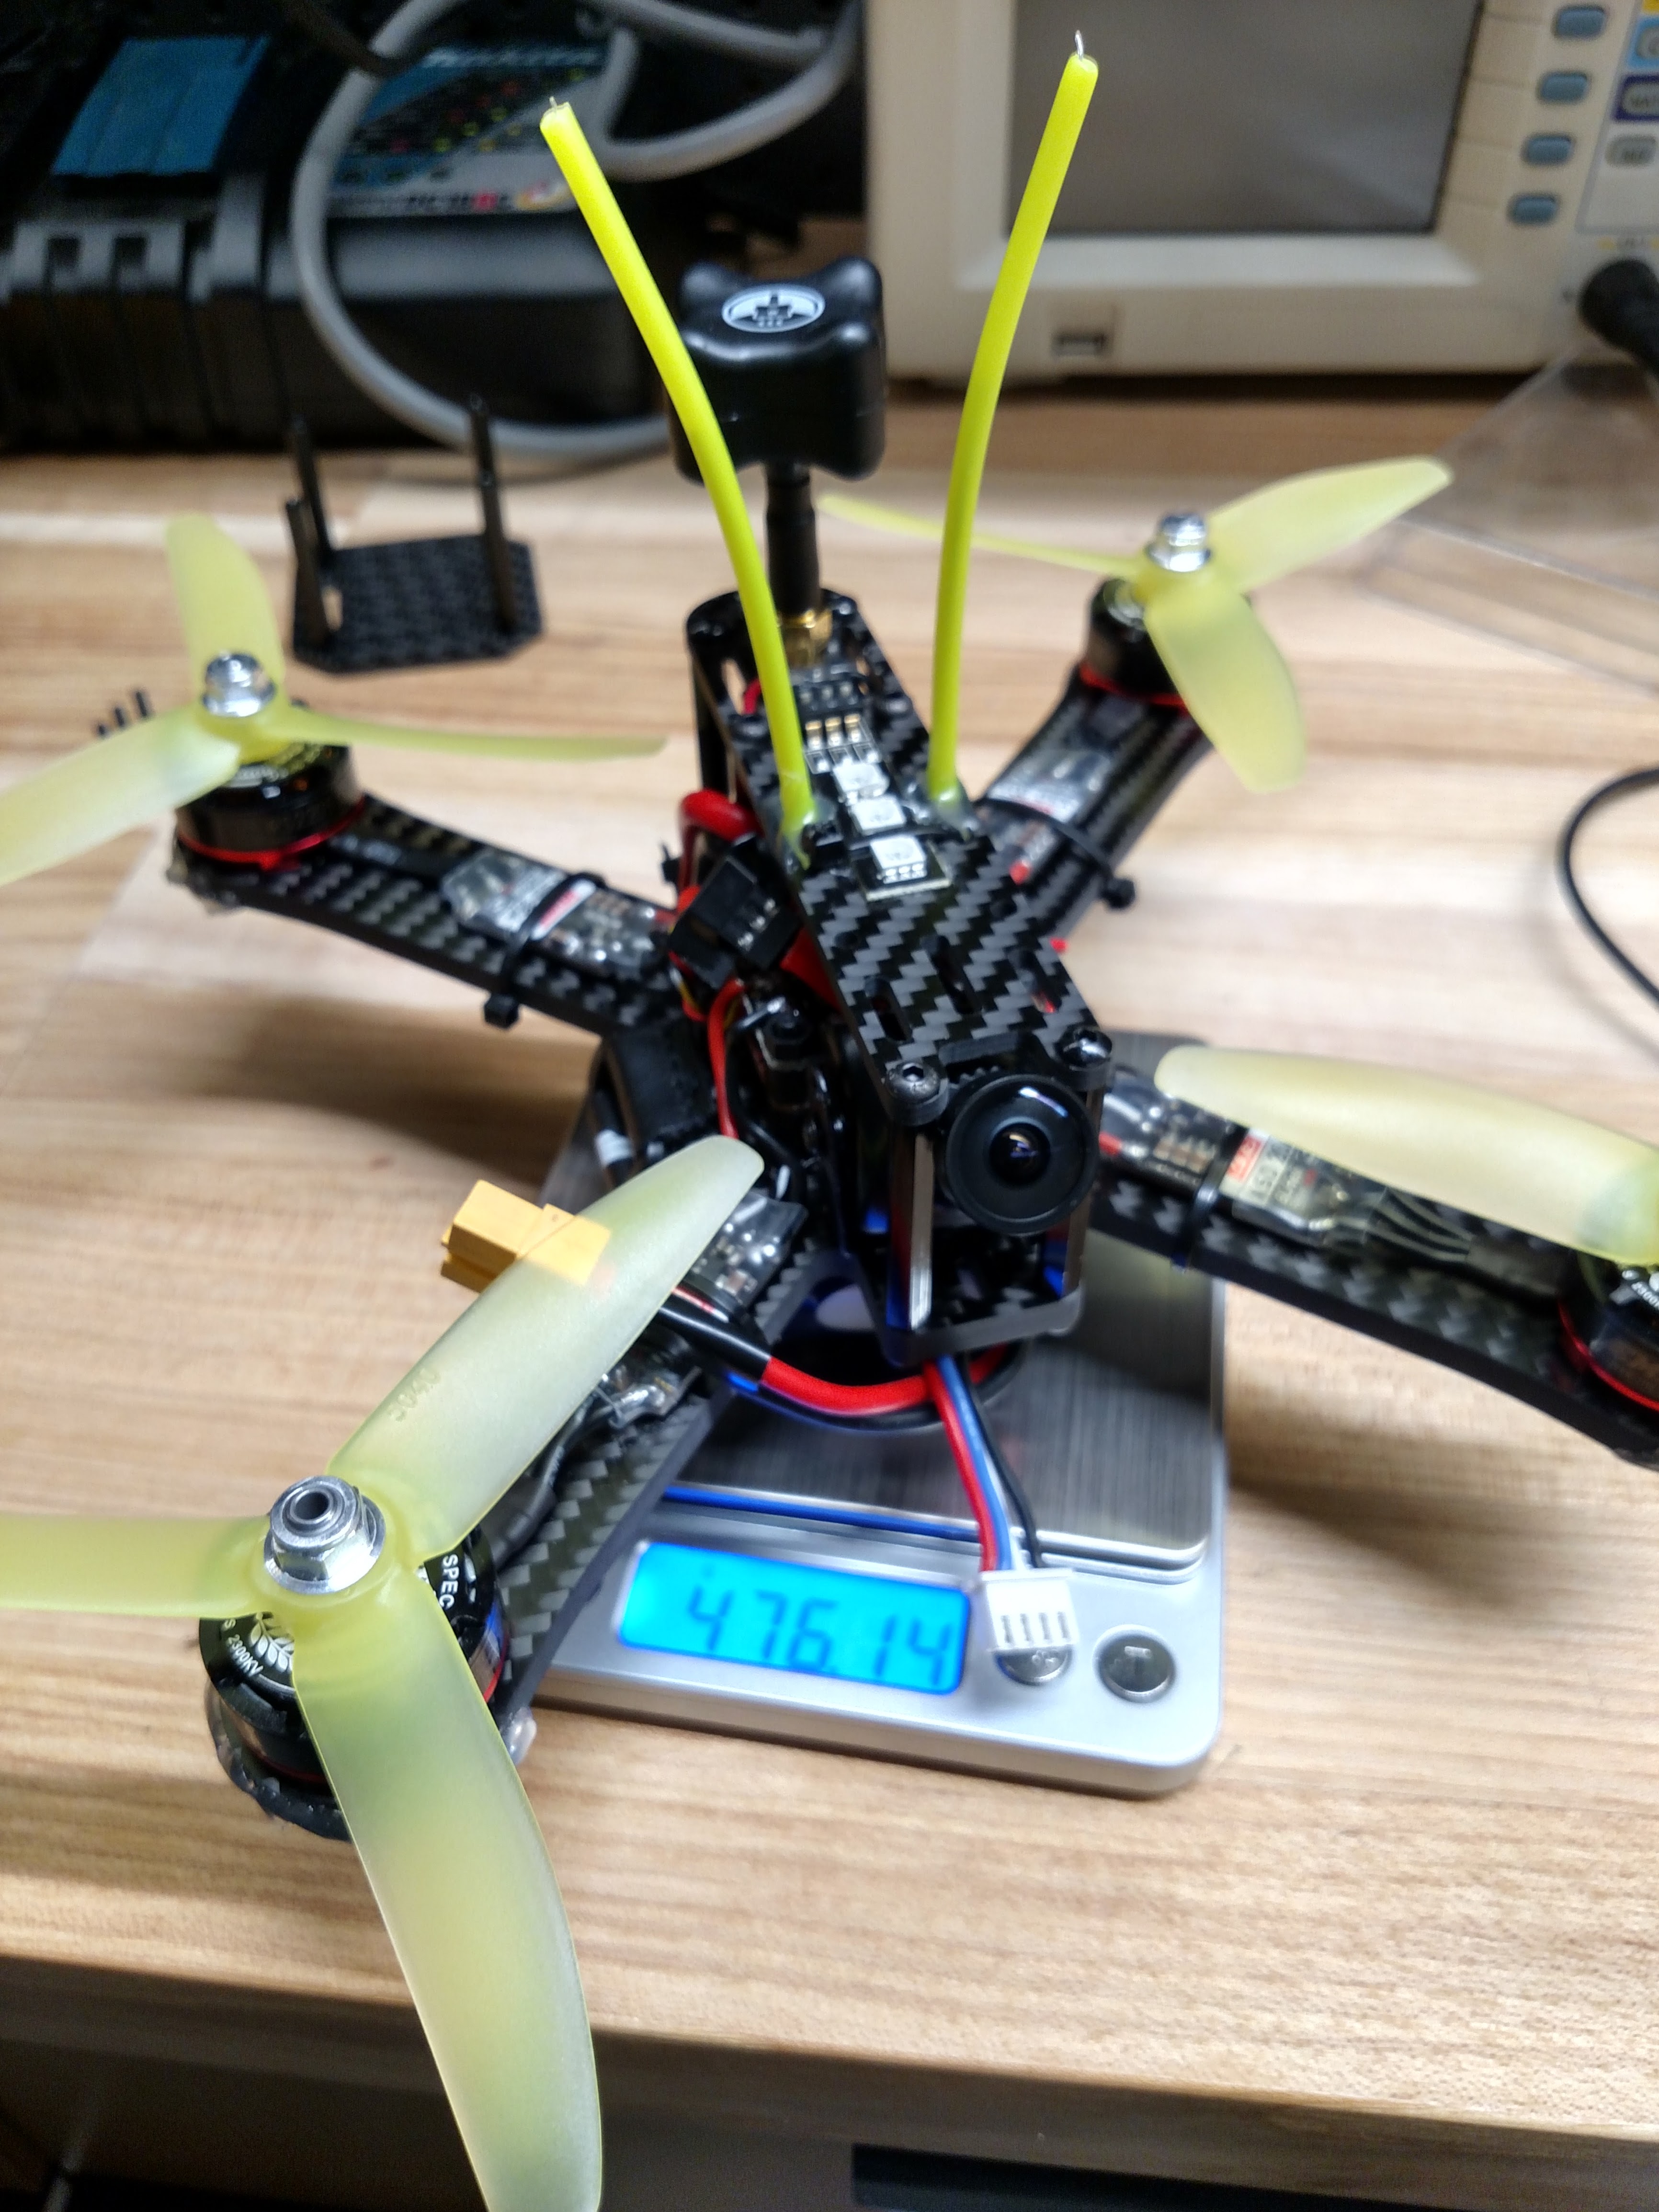
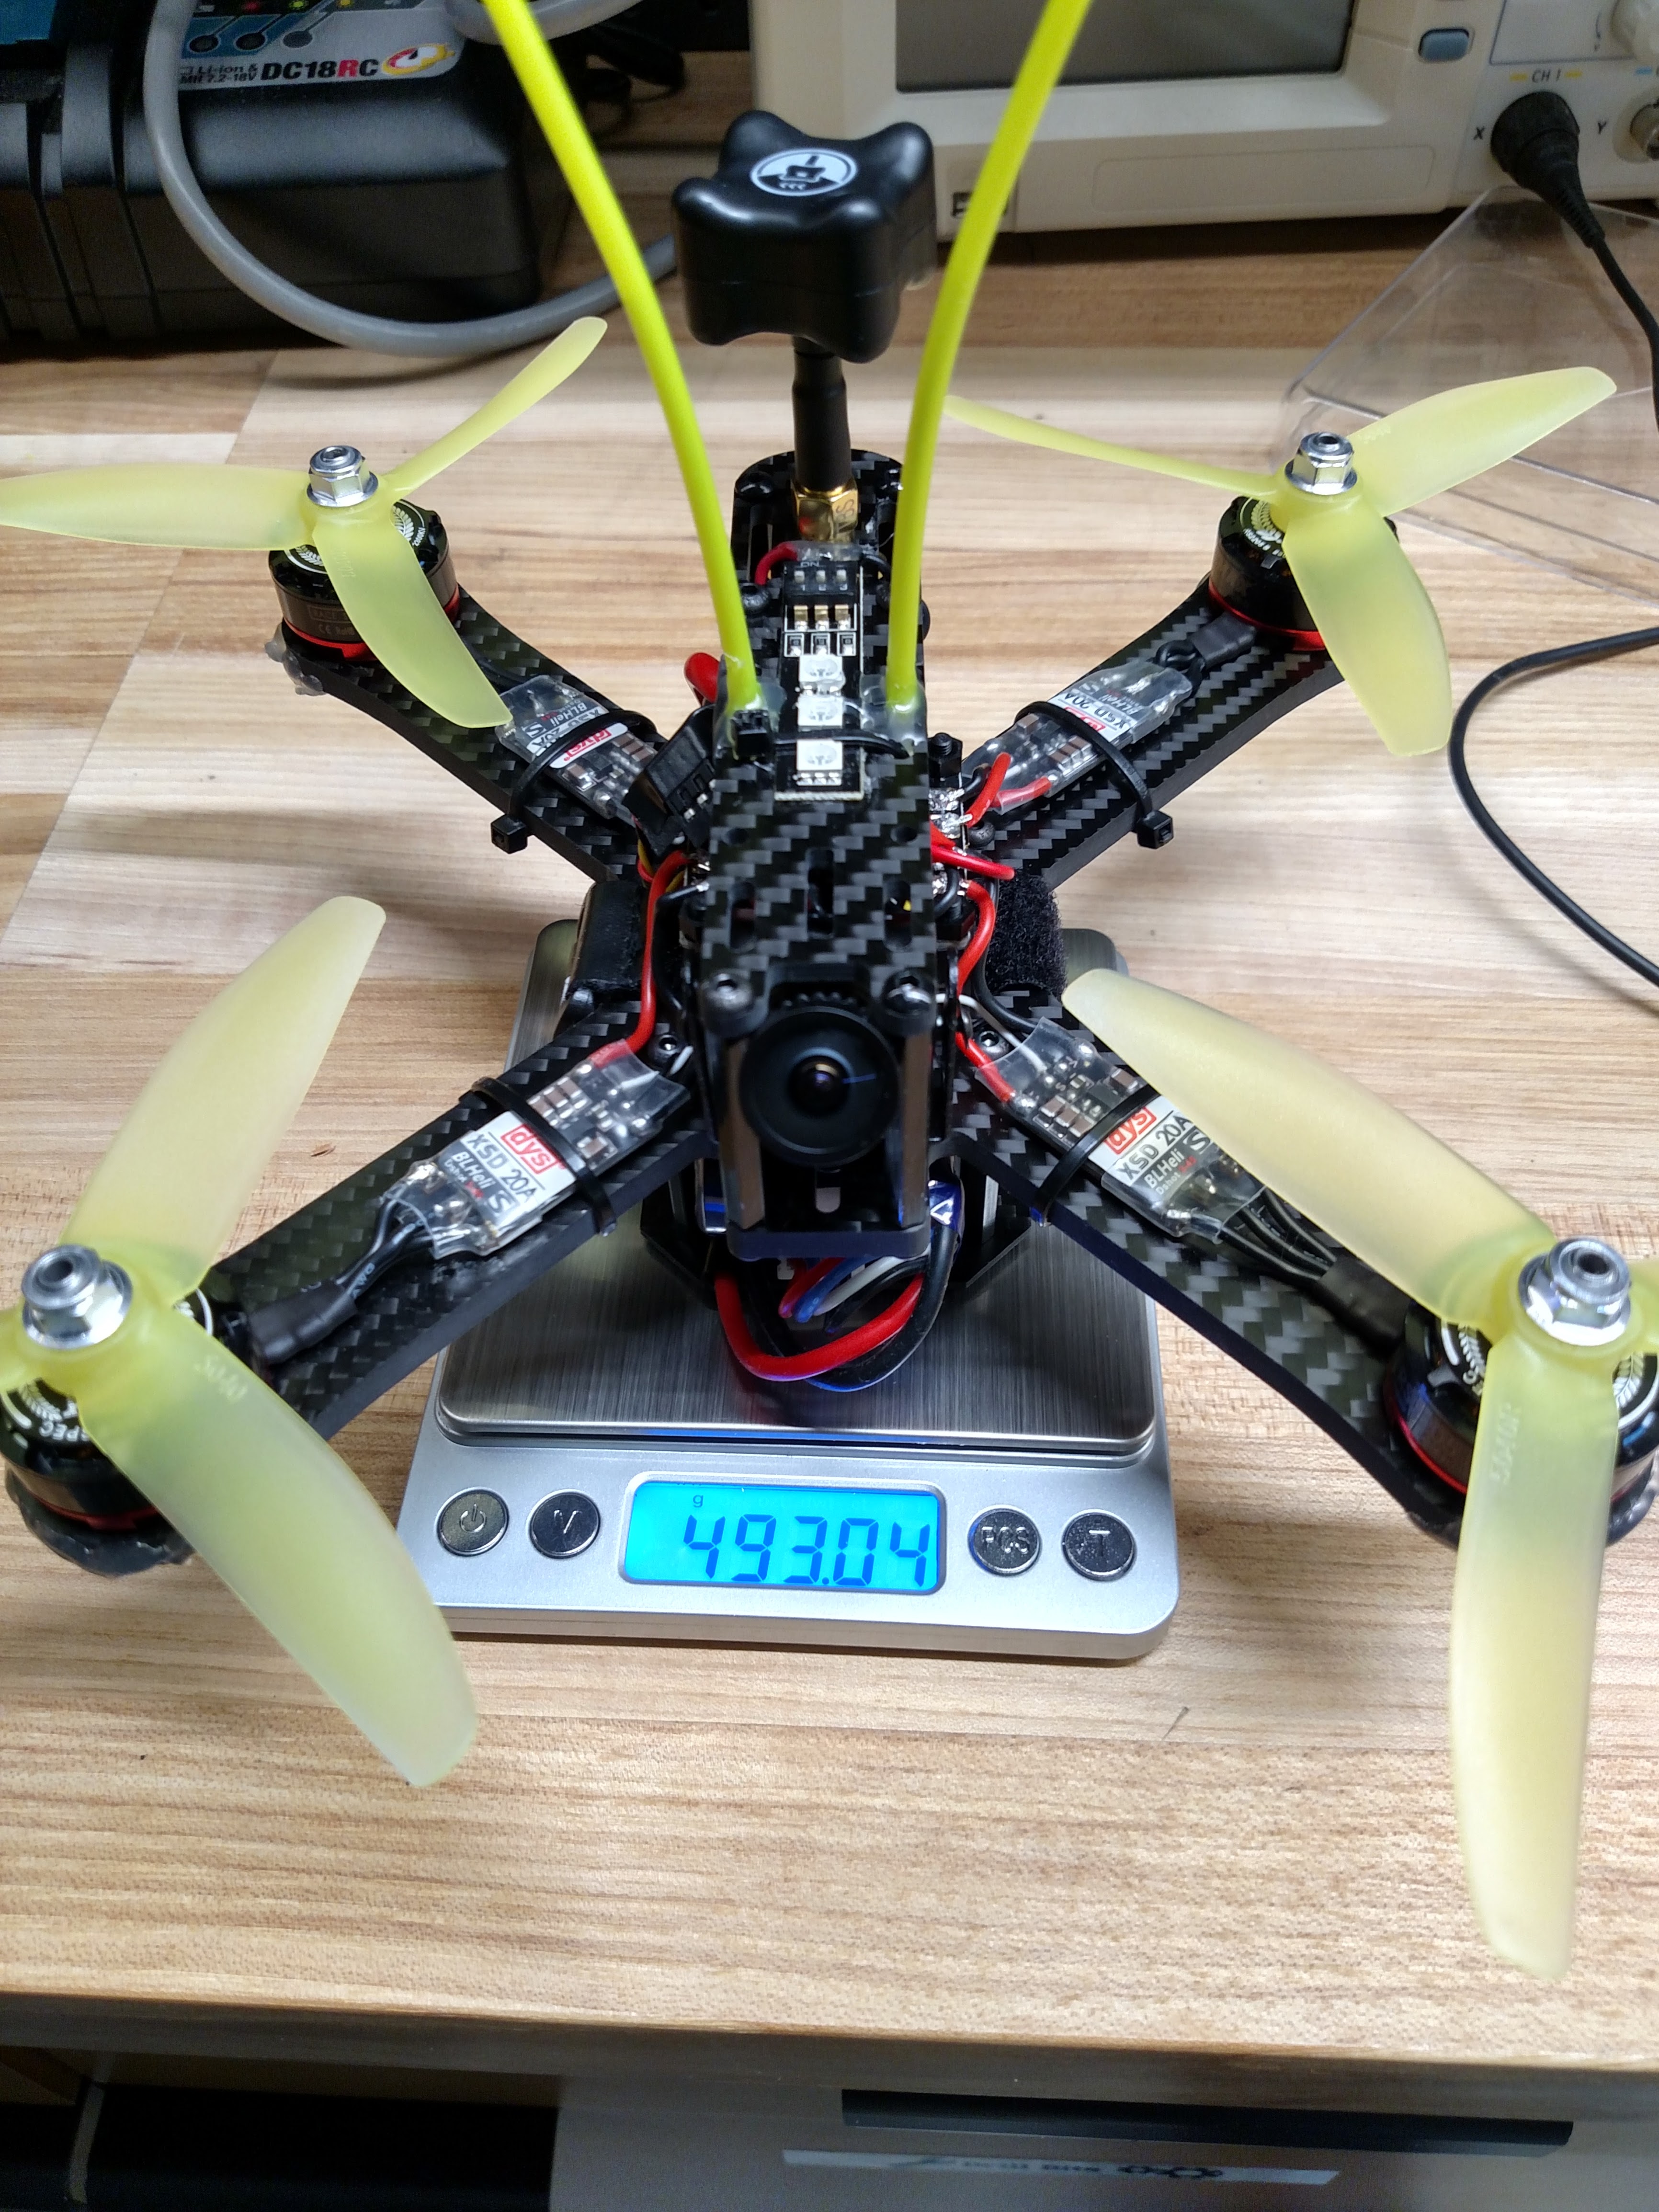
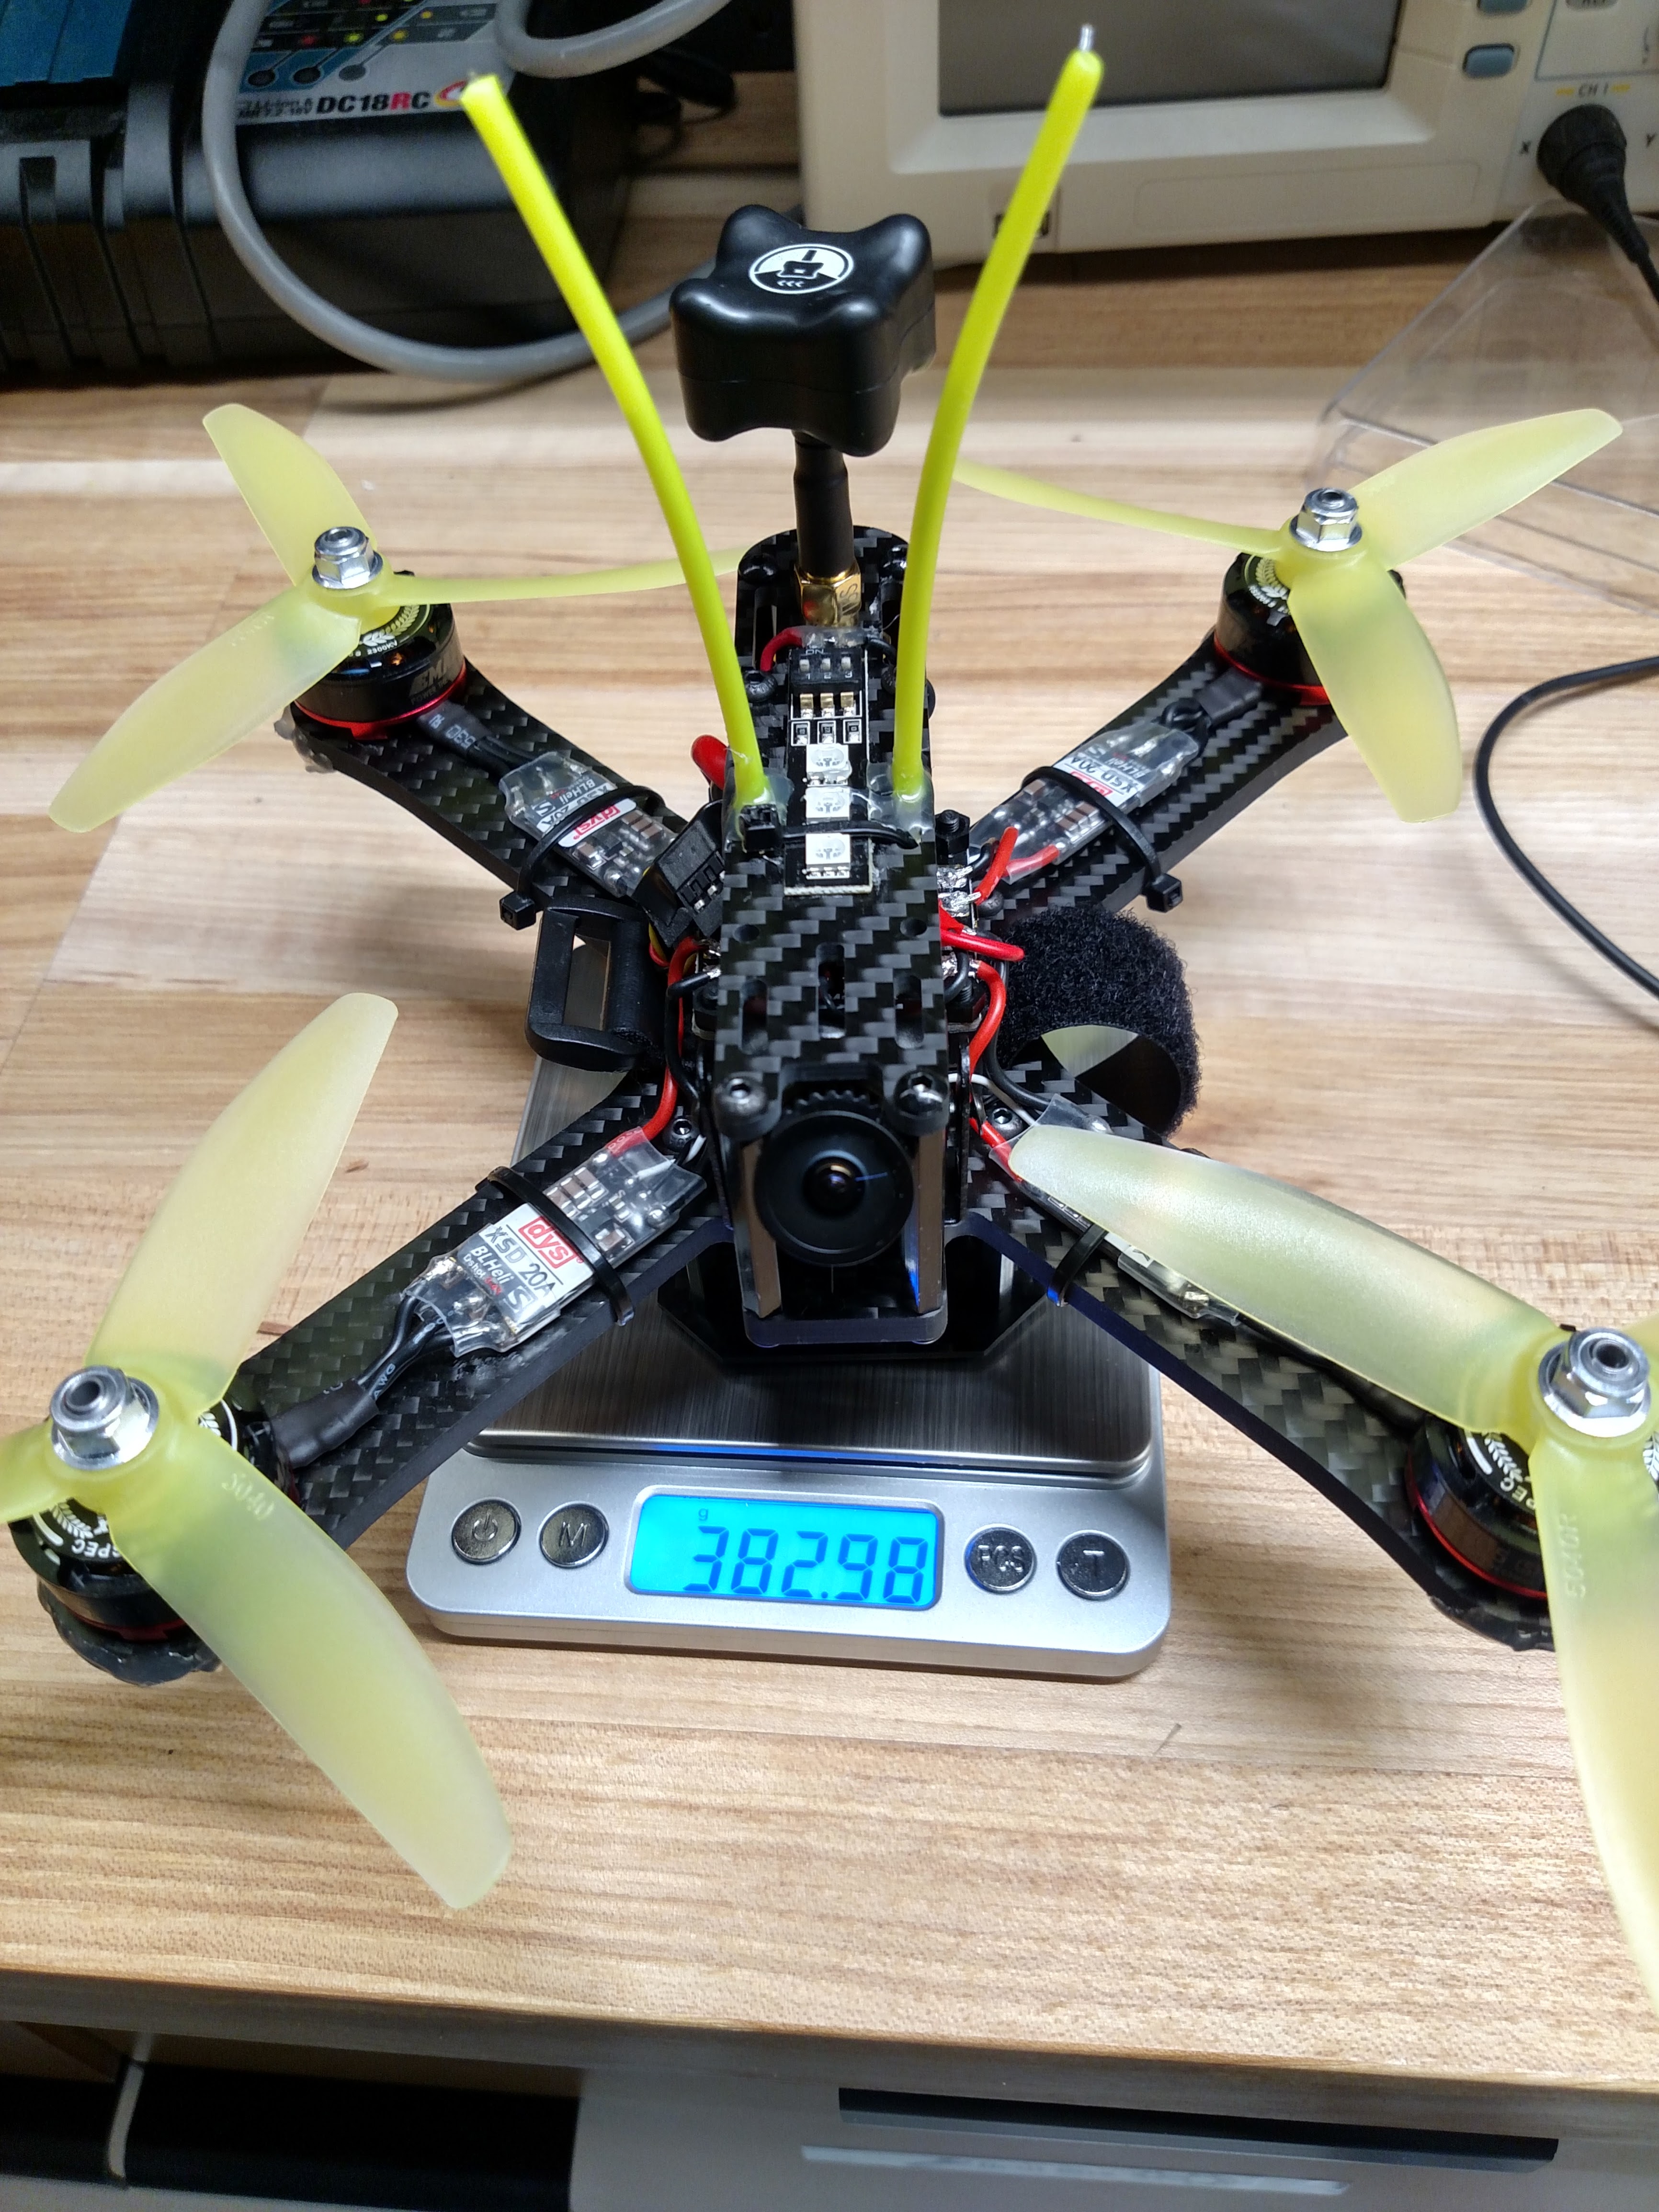
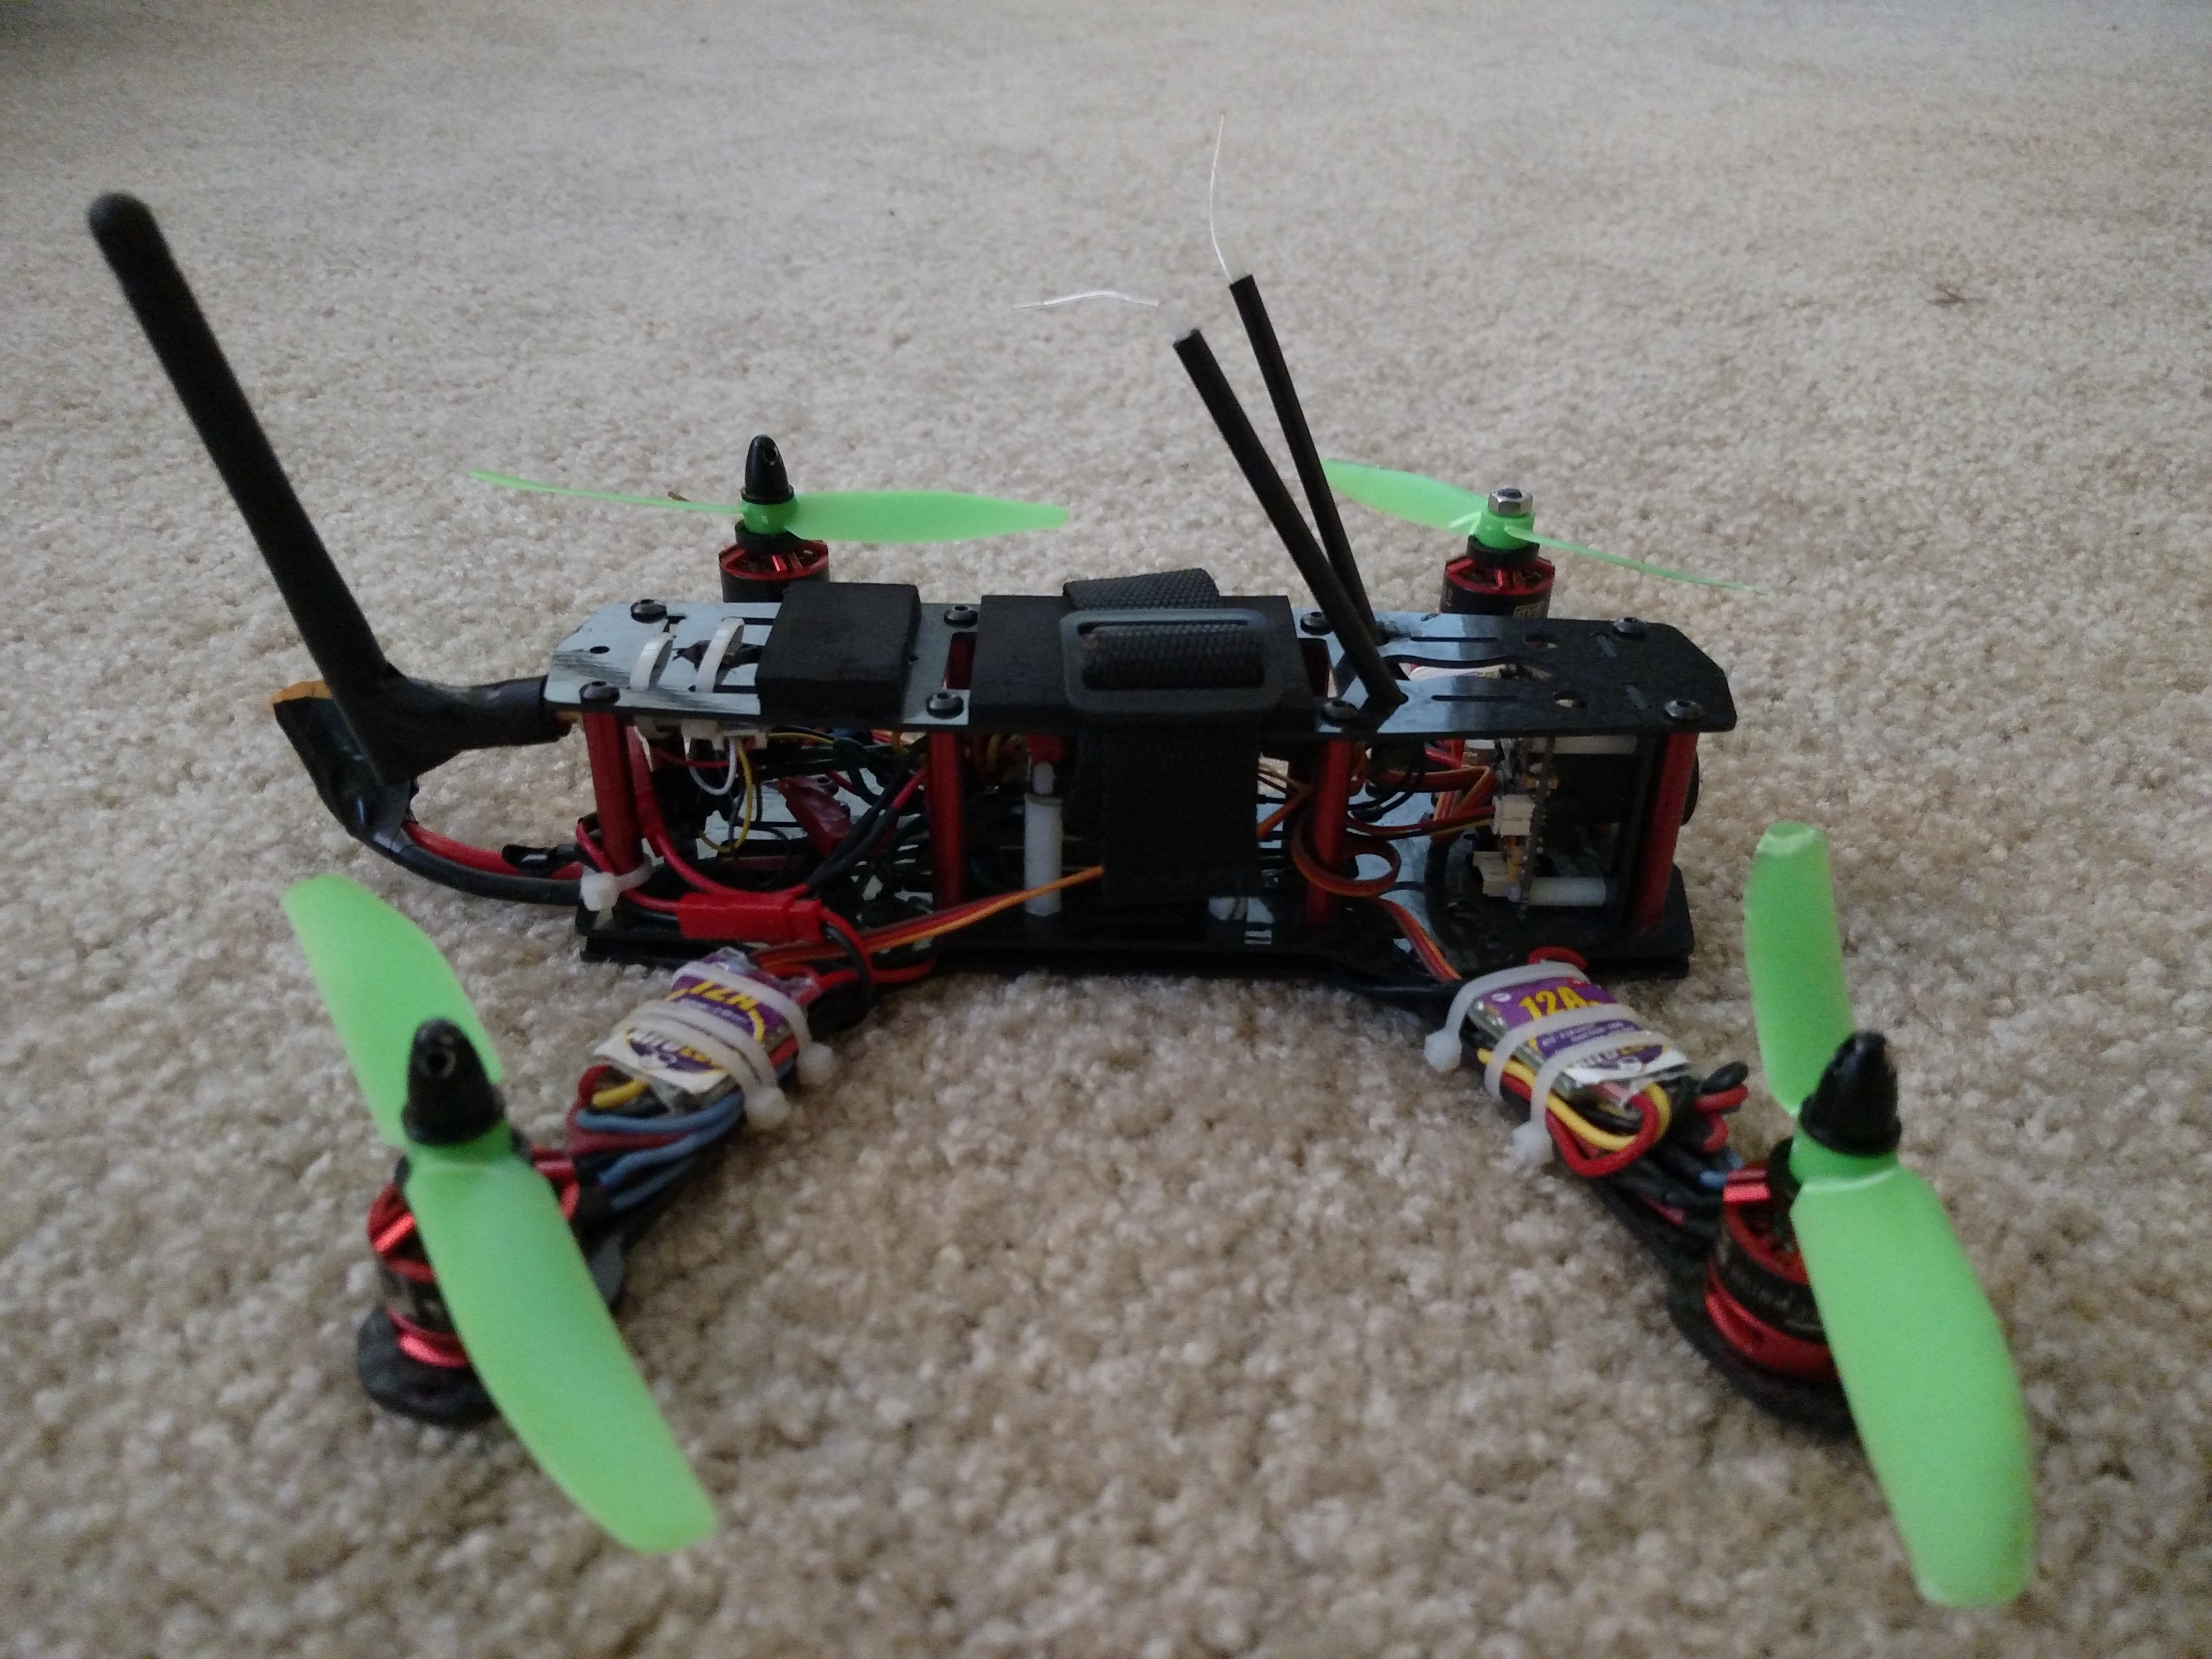
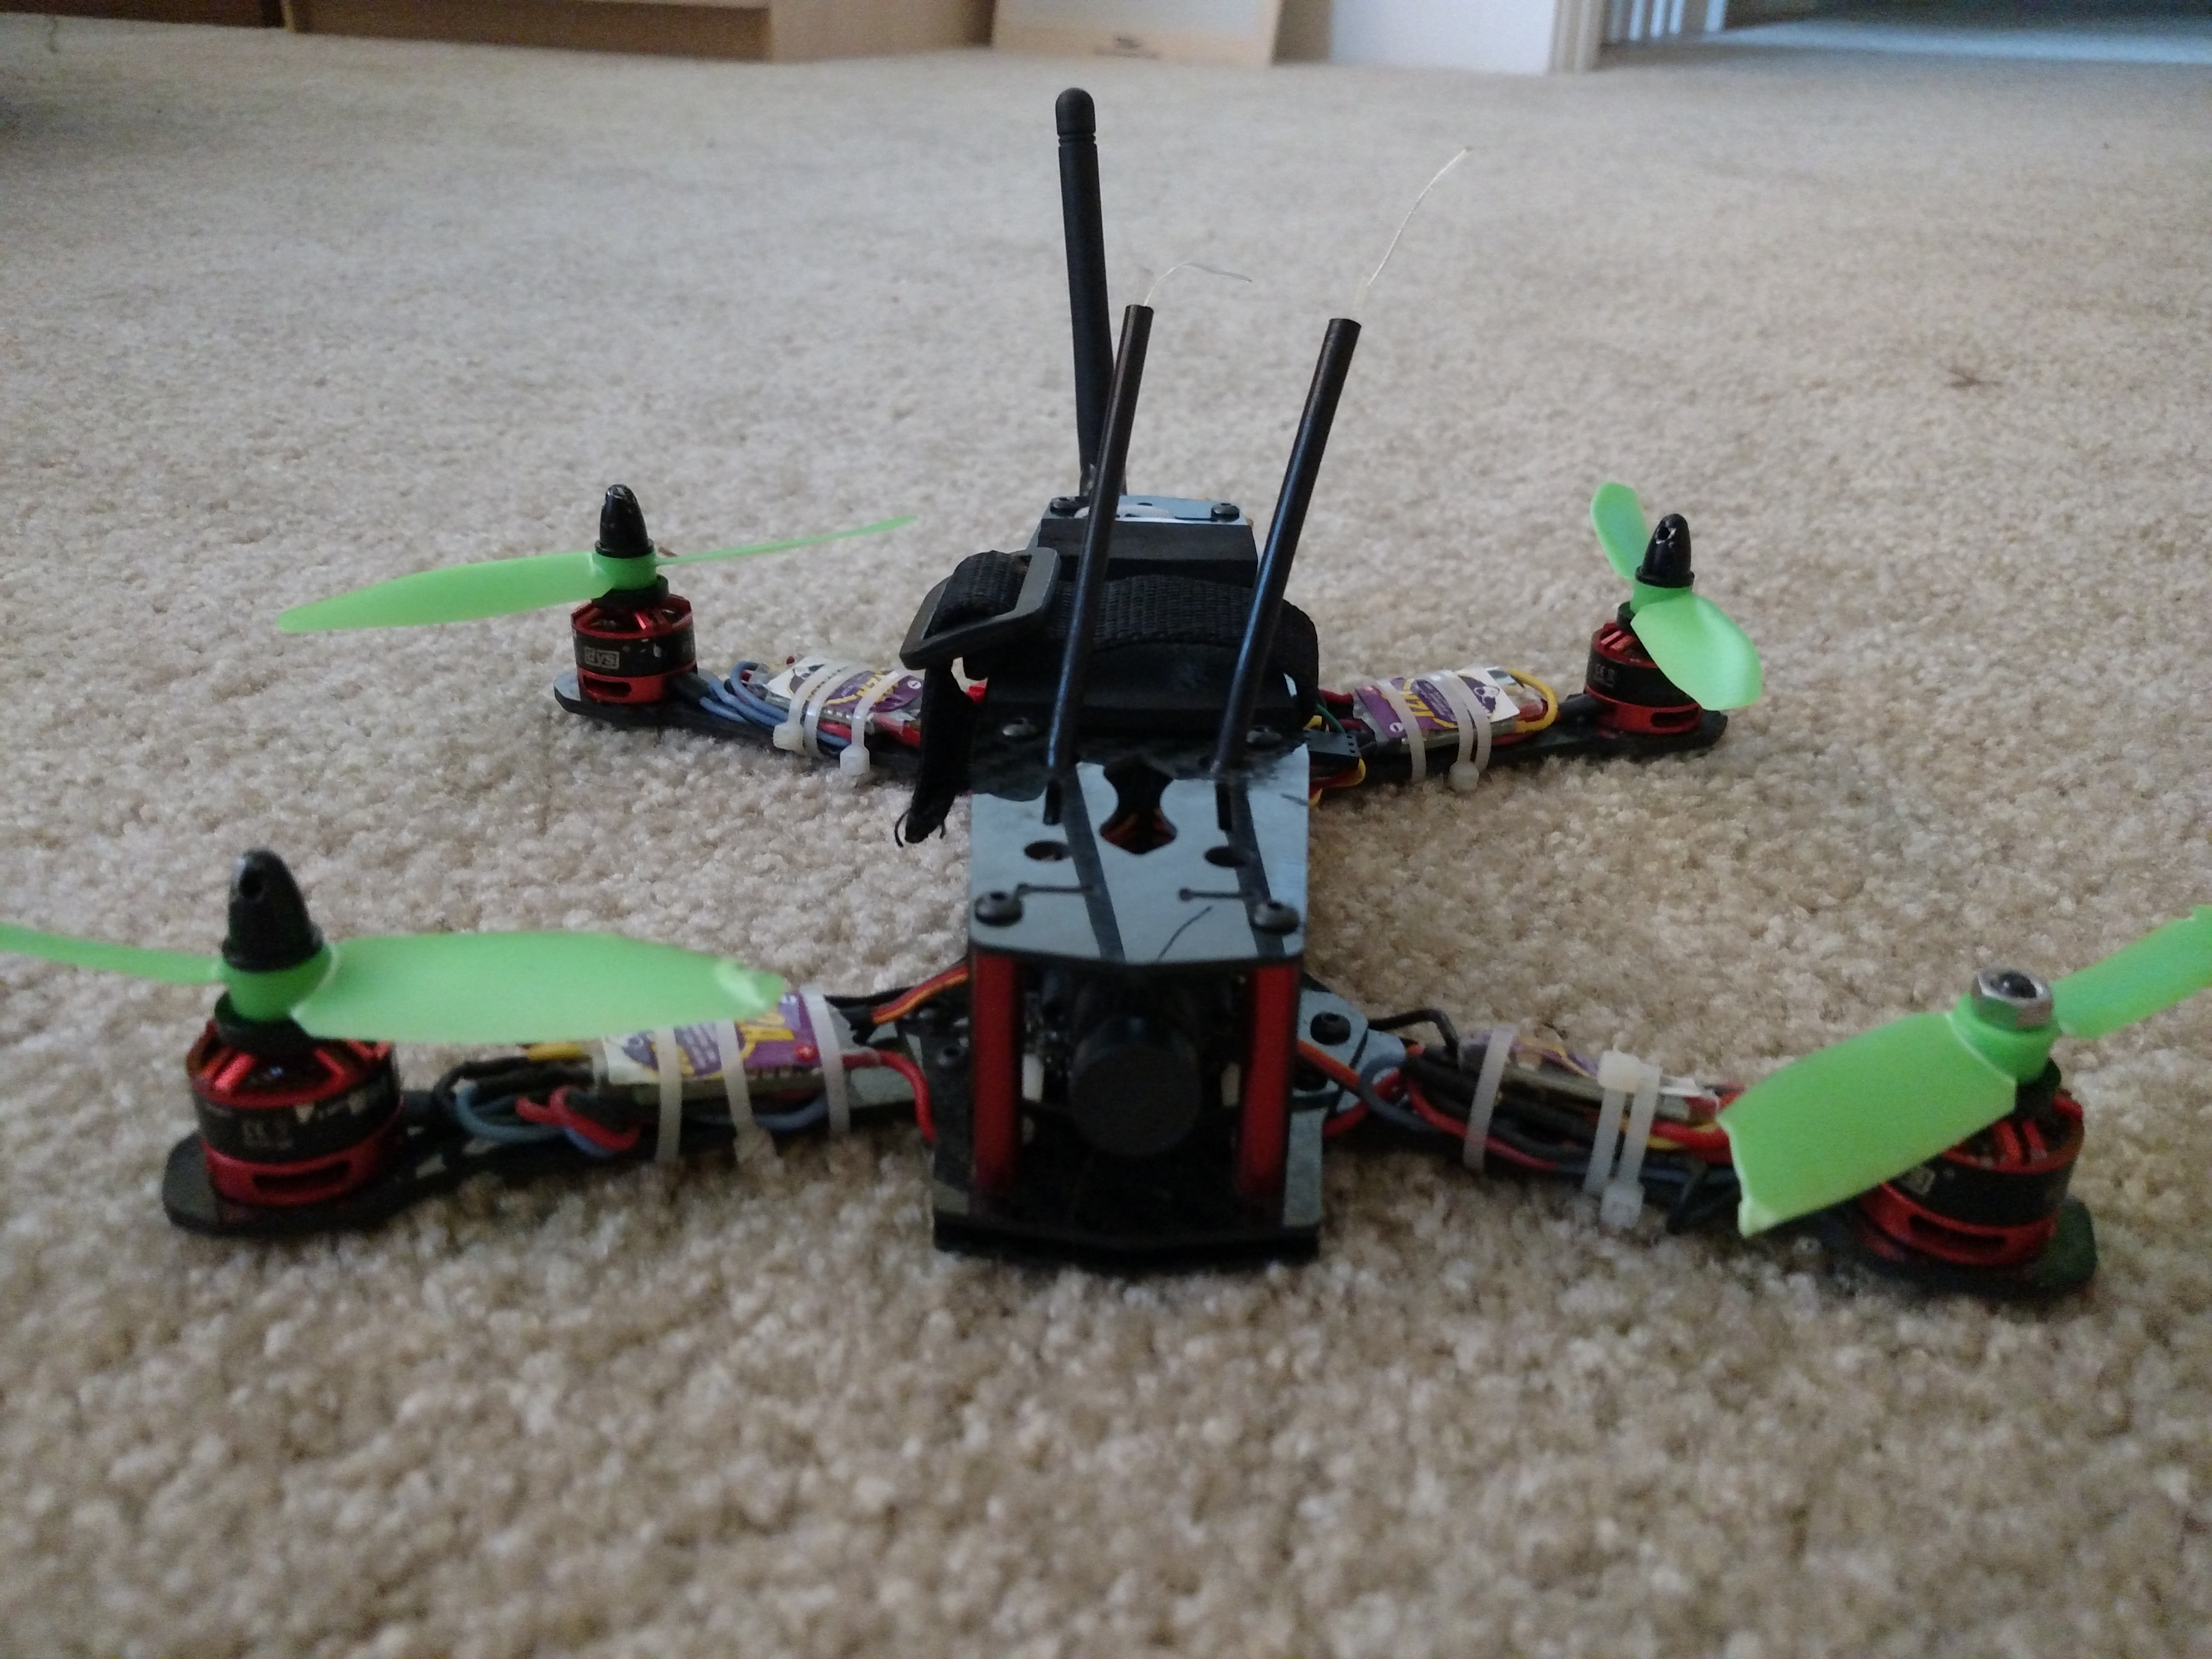
Pictures of finished quadcopter
After seeing some FPV quad racing videos I decided I really wanted to fly one. When I found a step by step YouTube tutorial by RC Model Reviews, and watched it several times through, I decided that even though I had no experience building anything electronic I could do it since the tutorial was so thorough. Although the tutorial included some links, it doesn’t have a comprehensive list of all the parts and tools that are required. This caused me to order some parts I didn’t need, and other parts I had to order last minute after I realized they were needed. So others don’t waste money like I did, I compiled a list of all the parts and tools I ended up needing. I spent about $800 even though it should have costed about $630 plus shipping. You can get everything you need for under $500 if you already have some of the tools, and/or use a less expensive controller. For example, I got the Taranis X9D ($212), but you could get the Taranis QX7 for $120 which would drop the total cost for everything to about $540 – I do not have personal experience with the Taranis QX7, but it’s supposed about the same. If you find cheaper/better parts or tools please comment the links so others can benefit!
After I got most my parts I had a friend teach me the basics of soldering, but from there the tutorial was able to guide me through the whole process. A few times I was frustrated, but I believe this build is completely doable by most people.
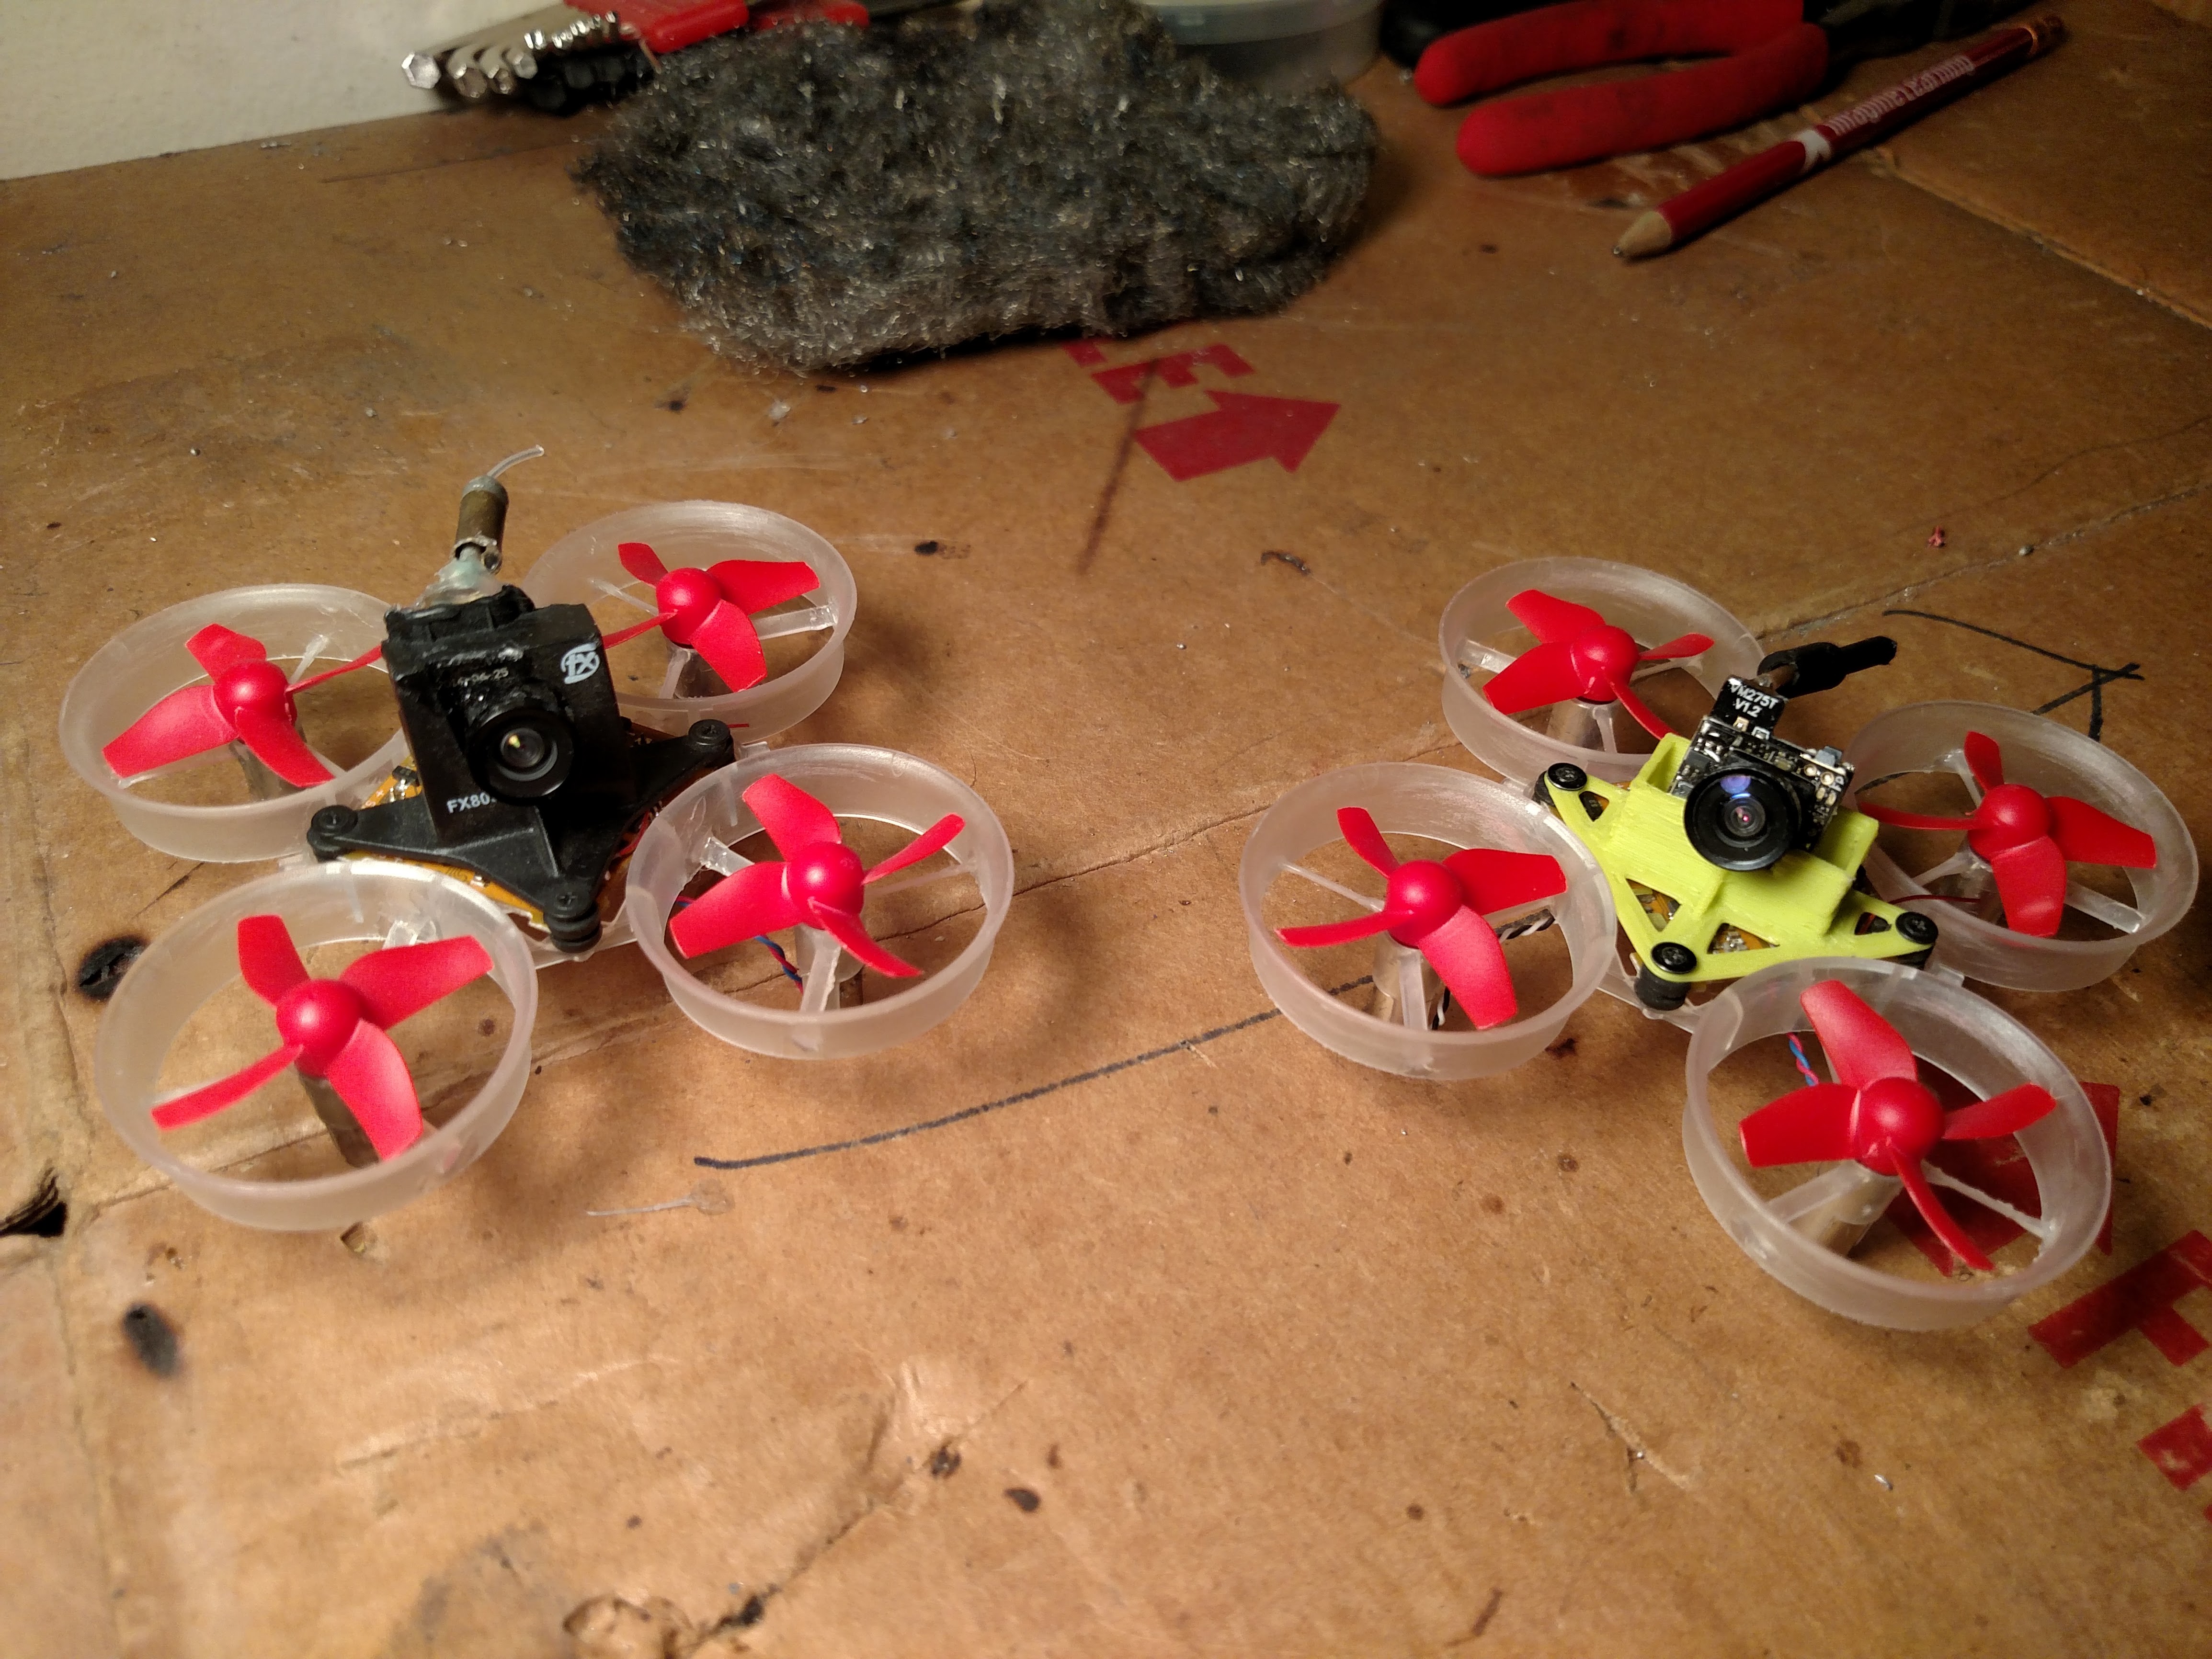
I finished the first part of the tutorial before adding FPV and tried to go fly the racing quad line of sight. I crashed it many times, caused some damage, and could have hurt someone. I bought a $17 little toy quad and a $2 protector with extra blades
 (highly recommended). This allowed me to practice inside and learn to fly before talking my racing one out. For the safety of your quad, others, and yourself first learn to fly a toy, then learn to fly line of sight, and then learn to fly FPV.
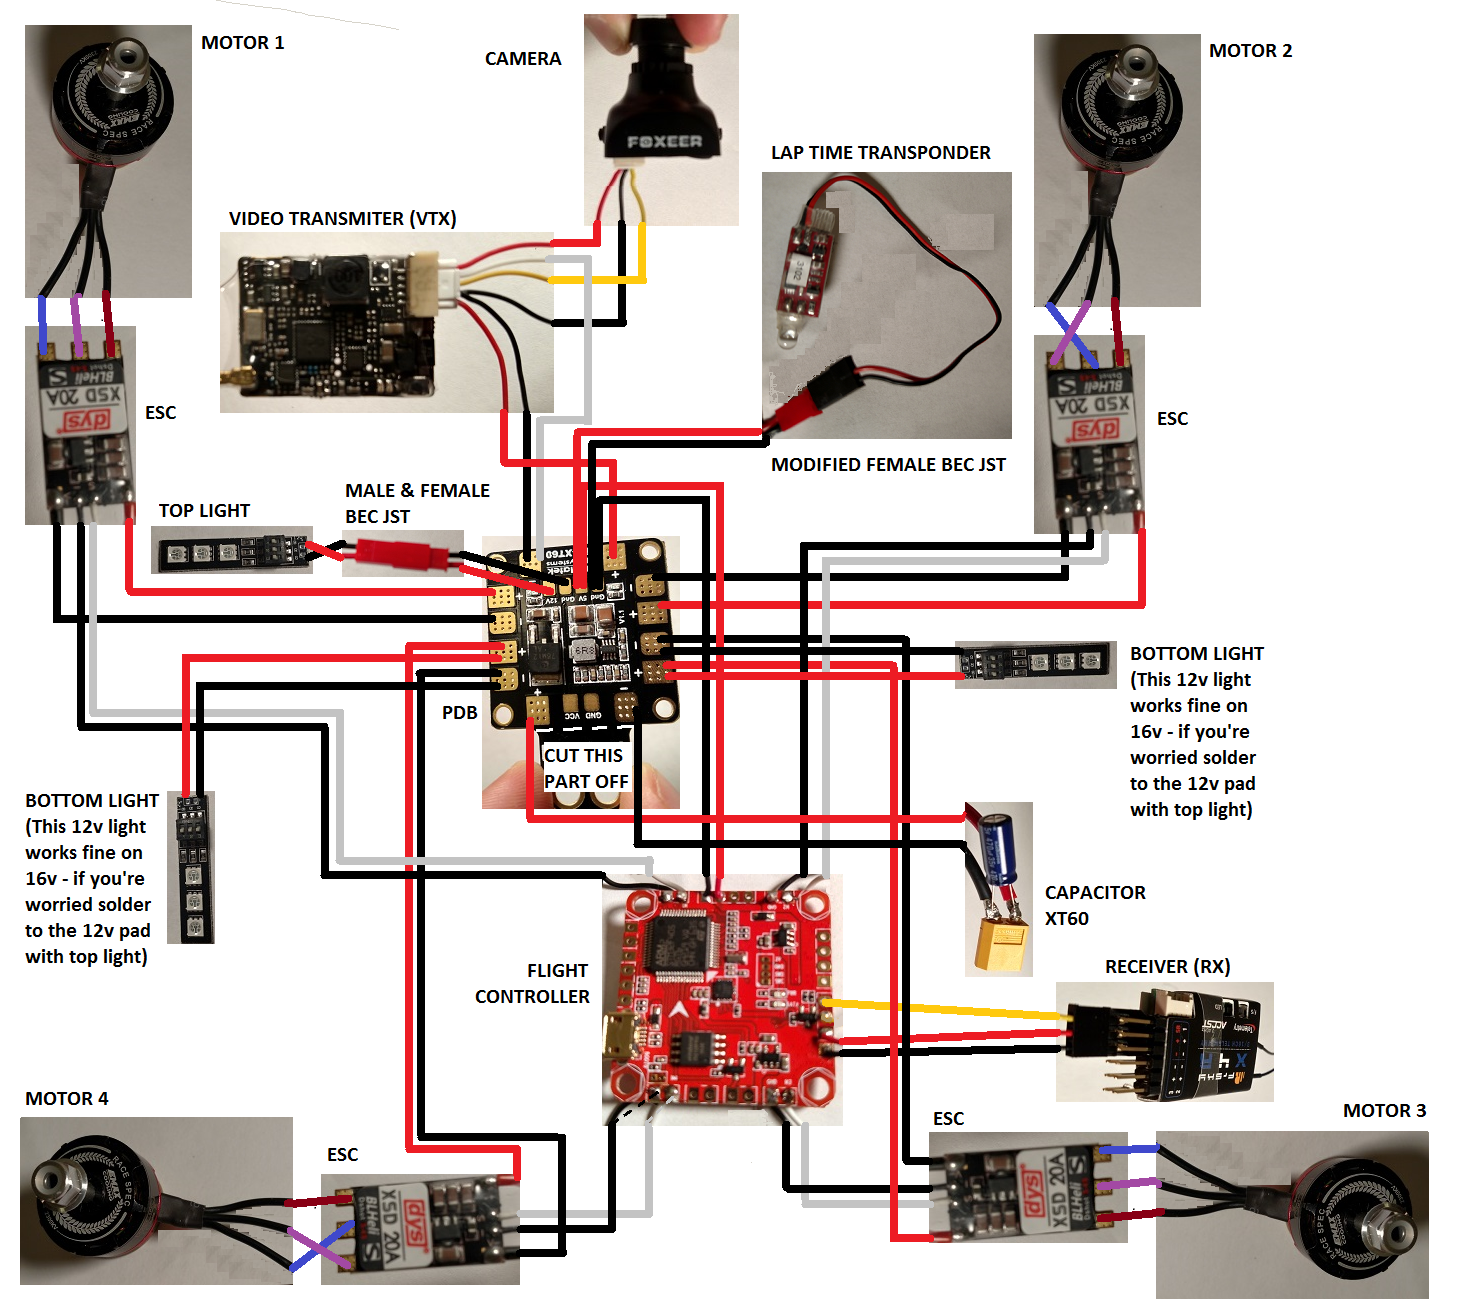
Since the Taranis has telemetry I was also able to add battery warnings with the help of a tutorial by travisgrindal. Note: if you get the pre-soldered flight board like I did you’ll need to cut the JST connector to be shorter to fit on the pins since the standoffs bring it up too close to the top panel.
This quad is great as a first time build since it is tough, easy to build, easy to upgrade, inexpensive, and can handle both 3s (11.v) and 4s (14.8v) batteries.
Happy flying!
Budget build tutorial by RC Model Reviews: https://www.youtube.com/playlist?list=PLgHGpiWXS2eSYeceg736QSESW9mijzuhf
Telemetry and battery warnings setup tutorial by travisgrindal: https://www.youtube.com/watch?v=Q7KpBGDxZQ4
Quadcopter Parts ($231 + shipping):
1 frame – $21 (the triangles go down for stands – super helpful, but mine broke off pretty quickly when I was learning to fly)
http://www.banggood.com/H250-ZMR250-250mm-Carbon-Fiber-Mini-Quadcopter-Multicopter-Frame-Kit-p-933185.html
or
http://www.amazon.com/gp/product/B00WE9EGAA
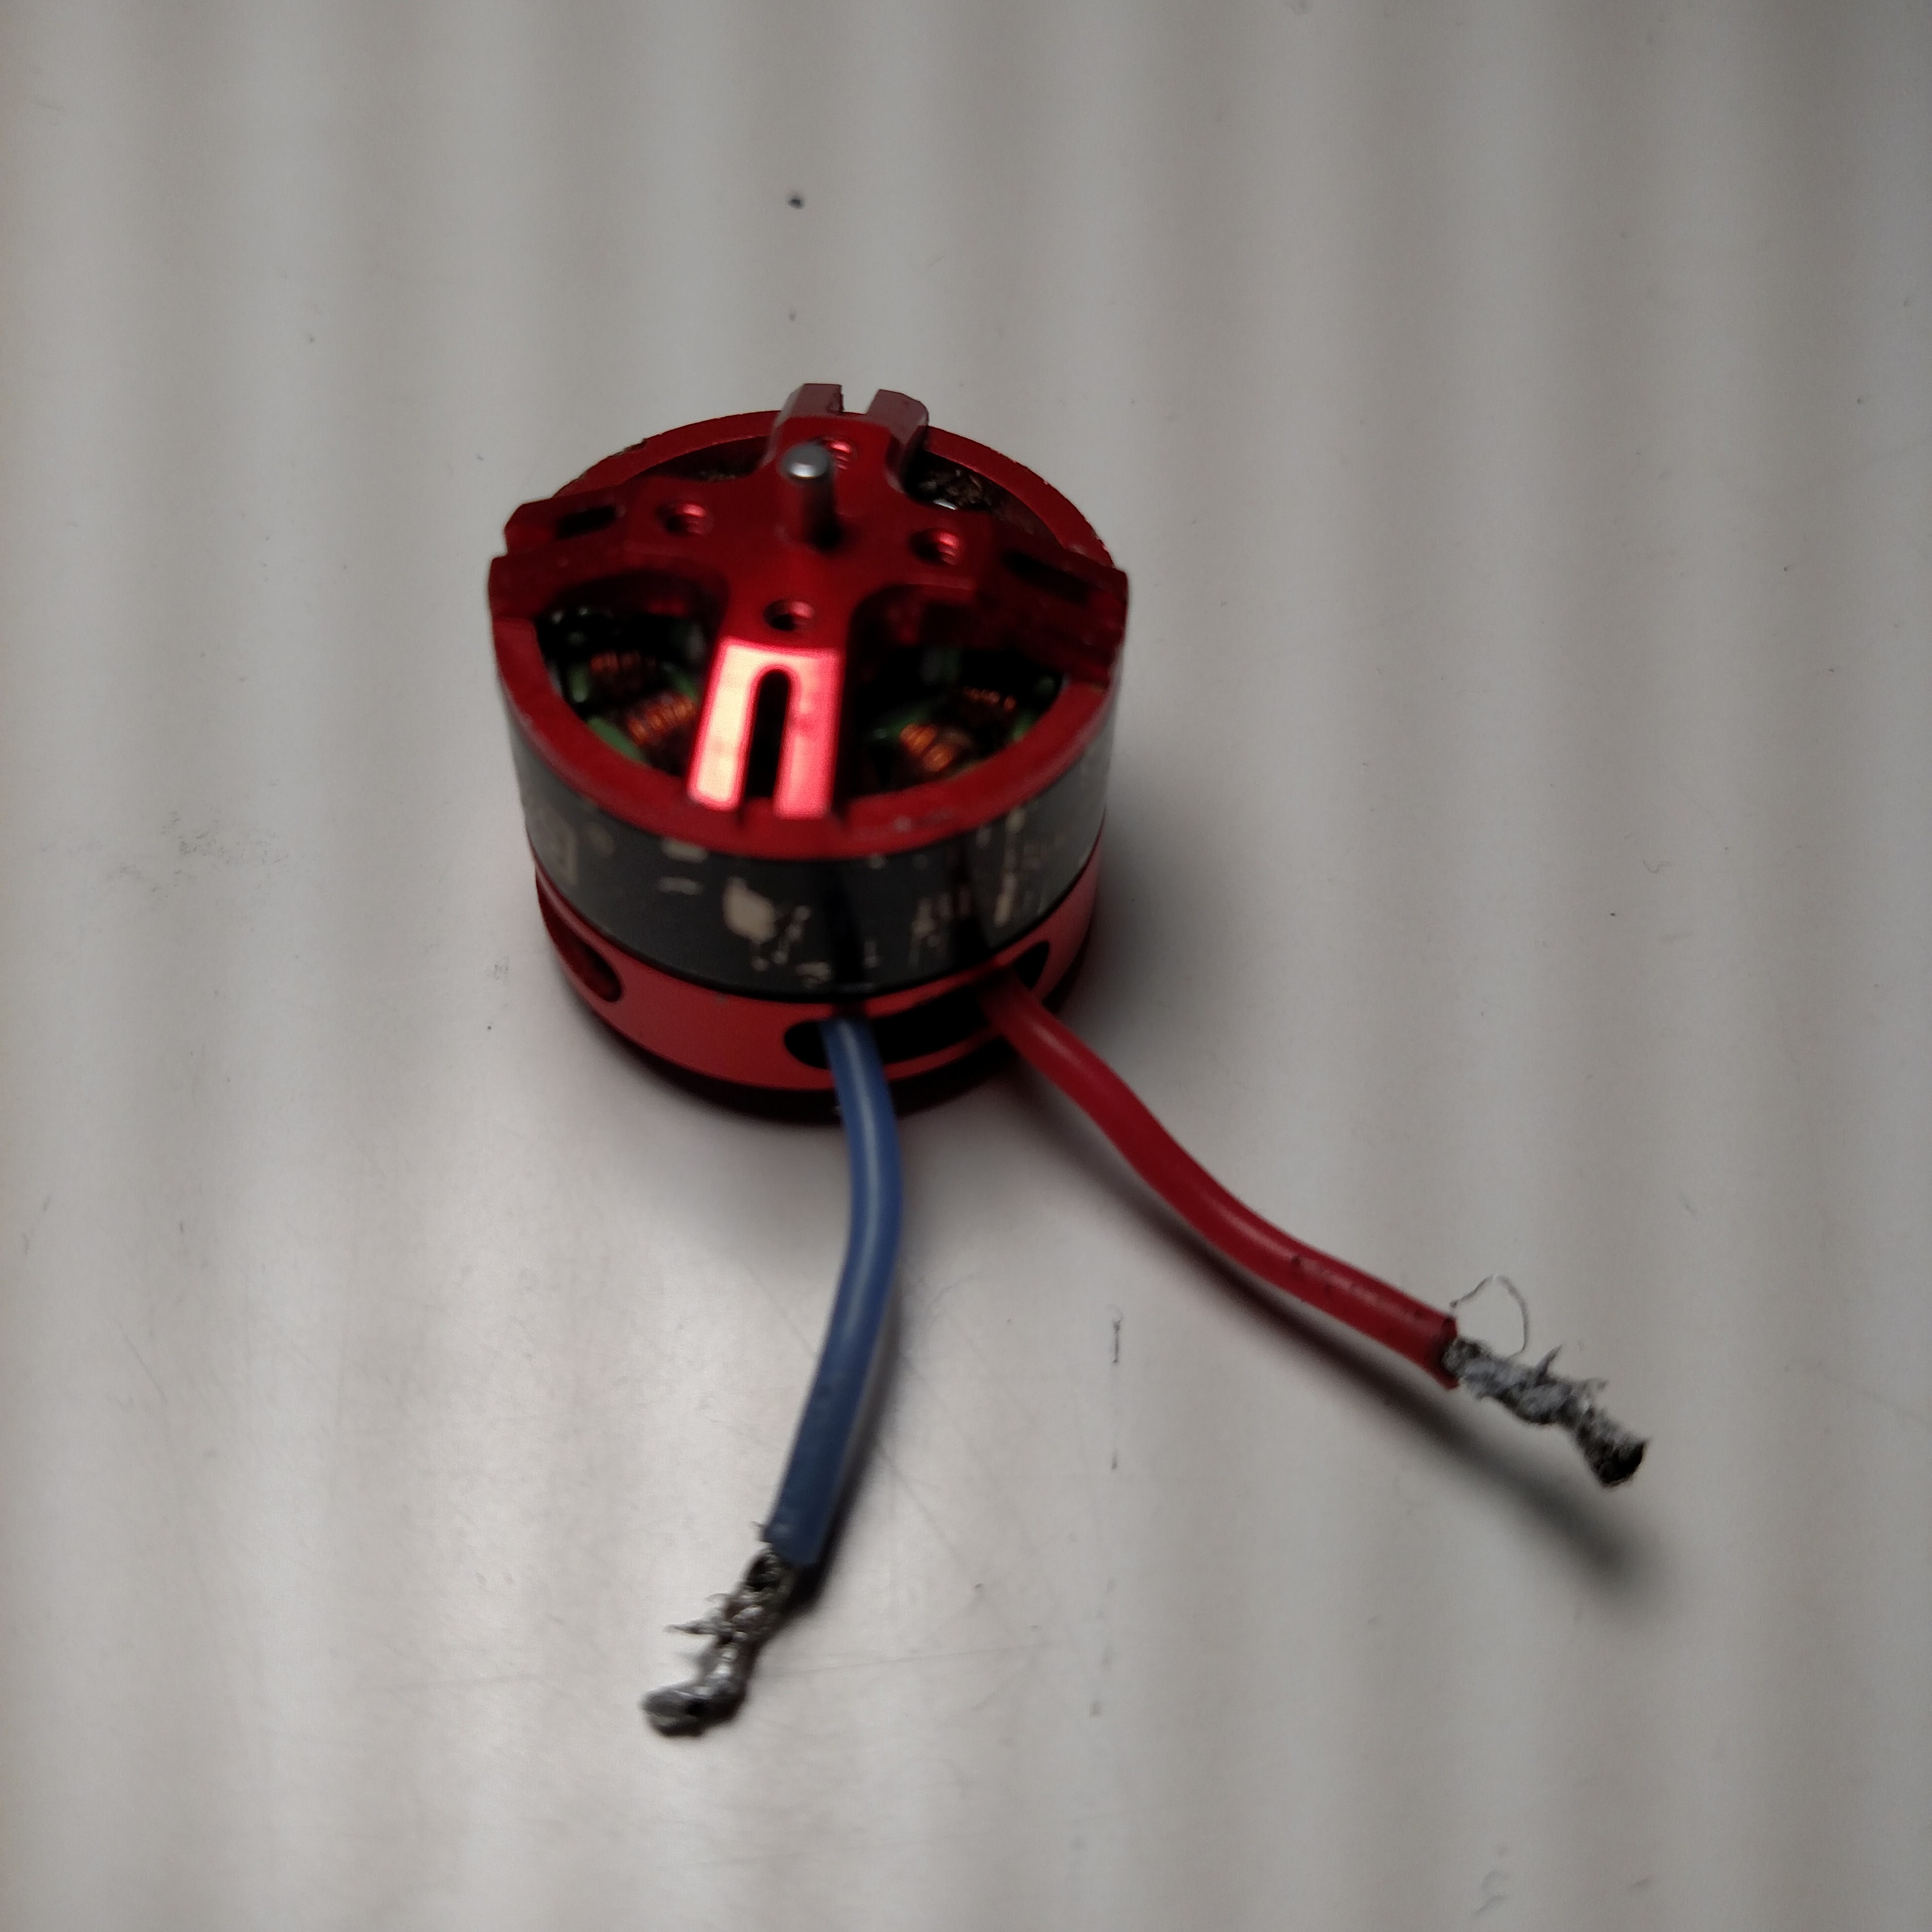
4 motors – $32 (in the tutorial he cuts the motor and ESC wires, but I decided to avoid the extra soldering by connecting them and bunching them up with zip ties – see pictures)
http://www.banggood.com/DYS-BE1806-2300KV-Brushless-Motor-2-3S-for-Mini-Multicopters-p-933192.html
or
http://hobbyking.com/hobbyking/store/__61433__DYS_BE1806_13_Brushless_Motor_for_Multirotor_2300KV_24g.html
or
http://www.amazon.com/gp/product/B00SR9GH4O
4 ESCs- $40
http://www.hobbyking.com/hobbyking/store/__55241__Afro_ESC_12Amp_Ultra_Lite_Multi_rotor_Motor_Speed_Controller_SimonK_Firmware_Version_3.html
or
http://www.amazon.com/gp/product/B00WFHNFX0
1 flight controller – $23
http://www.banggood.com/Afro-Naze32-10DOF-Rev5-MPU6050-Flight-controller-p-1007113.html
or
http://www.hobbyking.com/hobbyking/store/__68813__AfroFlight_Naze32_Acro_FunFly_Controller_Soldered_version_Horizontal_Pin_.html
or
https://www.amazon.com/gp/product/B01KZIZO0W
1 receiver – $23
http://www.banggood.com/FrSky-D4RII-24G-4CH-ACCST-Telemetry-Receiver-p-929069.html
or
http://www.hobbyking.com/hobbyking/store/__24788__FrSky_D4R_II_4ch_2_4Ghz_ACCST_Receiver_w_telemetry_.html
or
http://www.amazon.com/gp/product/B00SWHWFWO
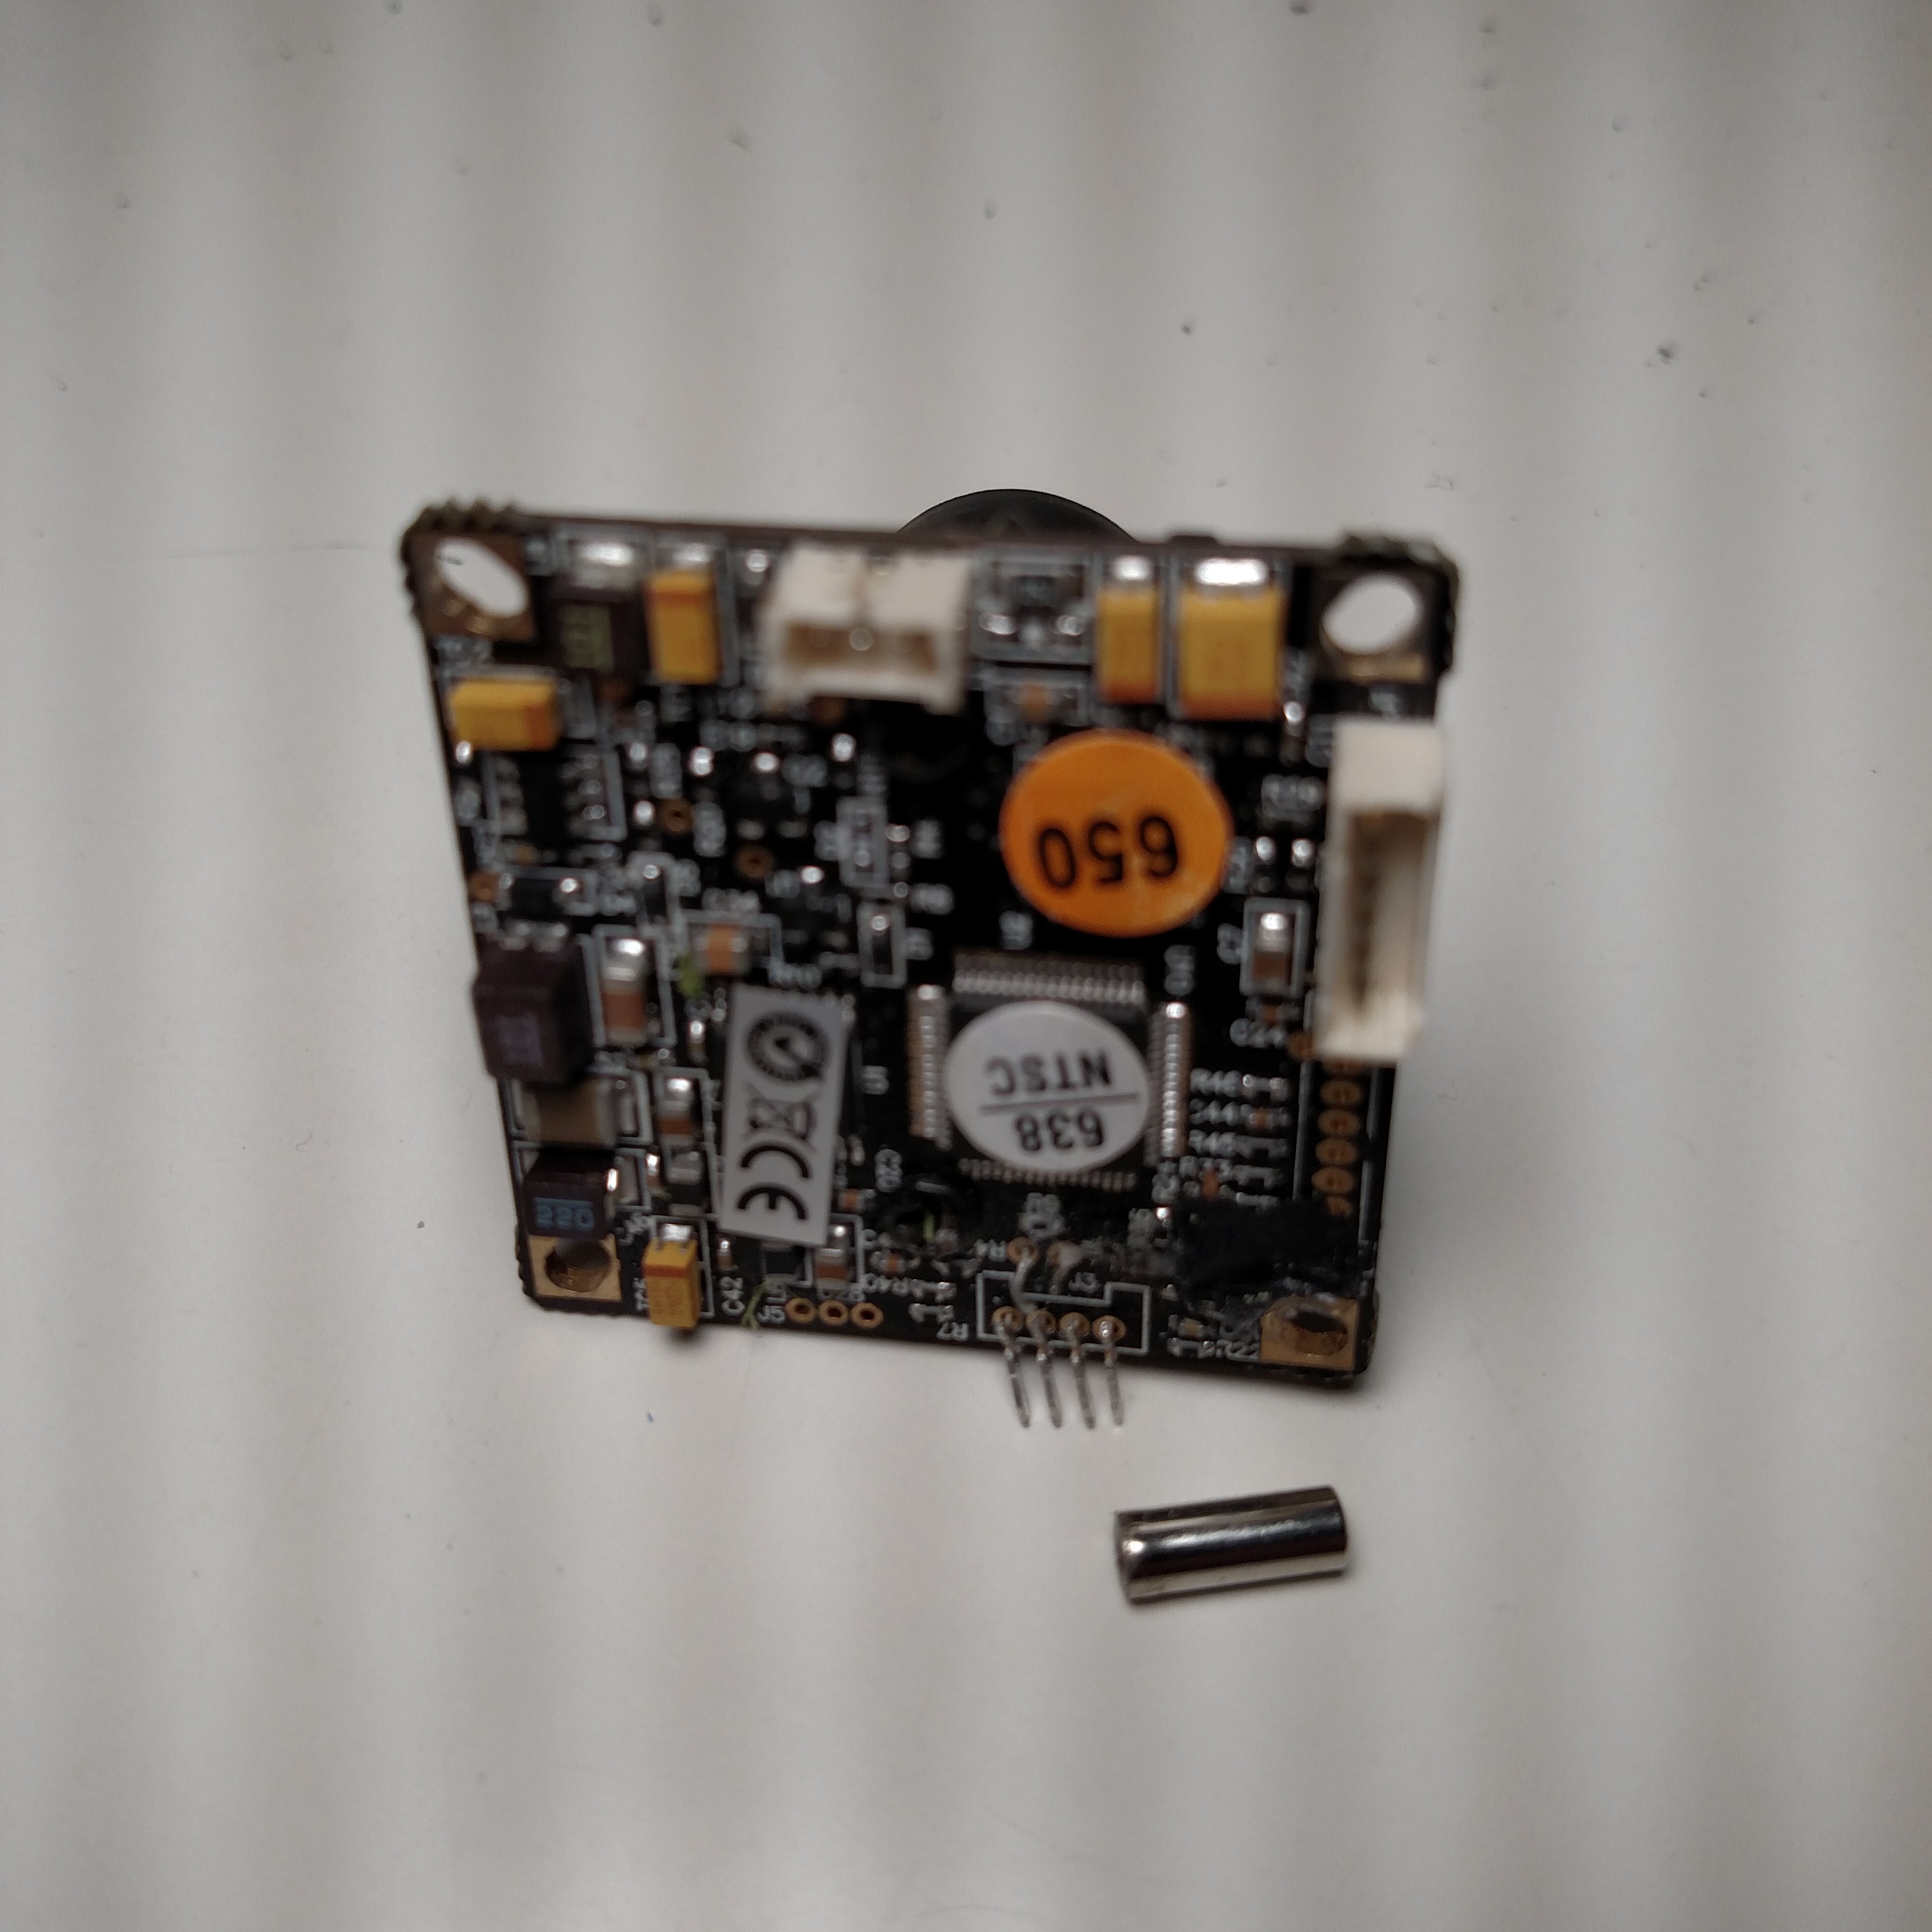
1 camera 2.8mm – $31 (in the tutorial the SC2000 600TVL Camera was used, but if you use this one instead your quad will be able to support 3s and 4s batteries – the only down side is you can only get 3 of the 4 standoff nuts on)
http://www.banggood.com/RunCam-PZ0420M-L28-2_8MM-864_3M-600TVL-DC-5-17V-Wide-Voltage-Mini-FPV-Camera-p-1017665.html
or
http://www.securitycamera2000.com/products/RunCam-600TVL-DC-5%252d17V-Wide-Voltage-Mini-FPV-Board-Camera.html
or
https://www.amazon.com/gp/product/B01M0P2M2Q
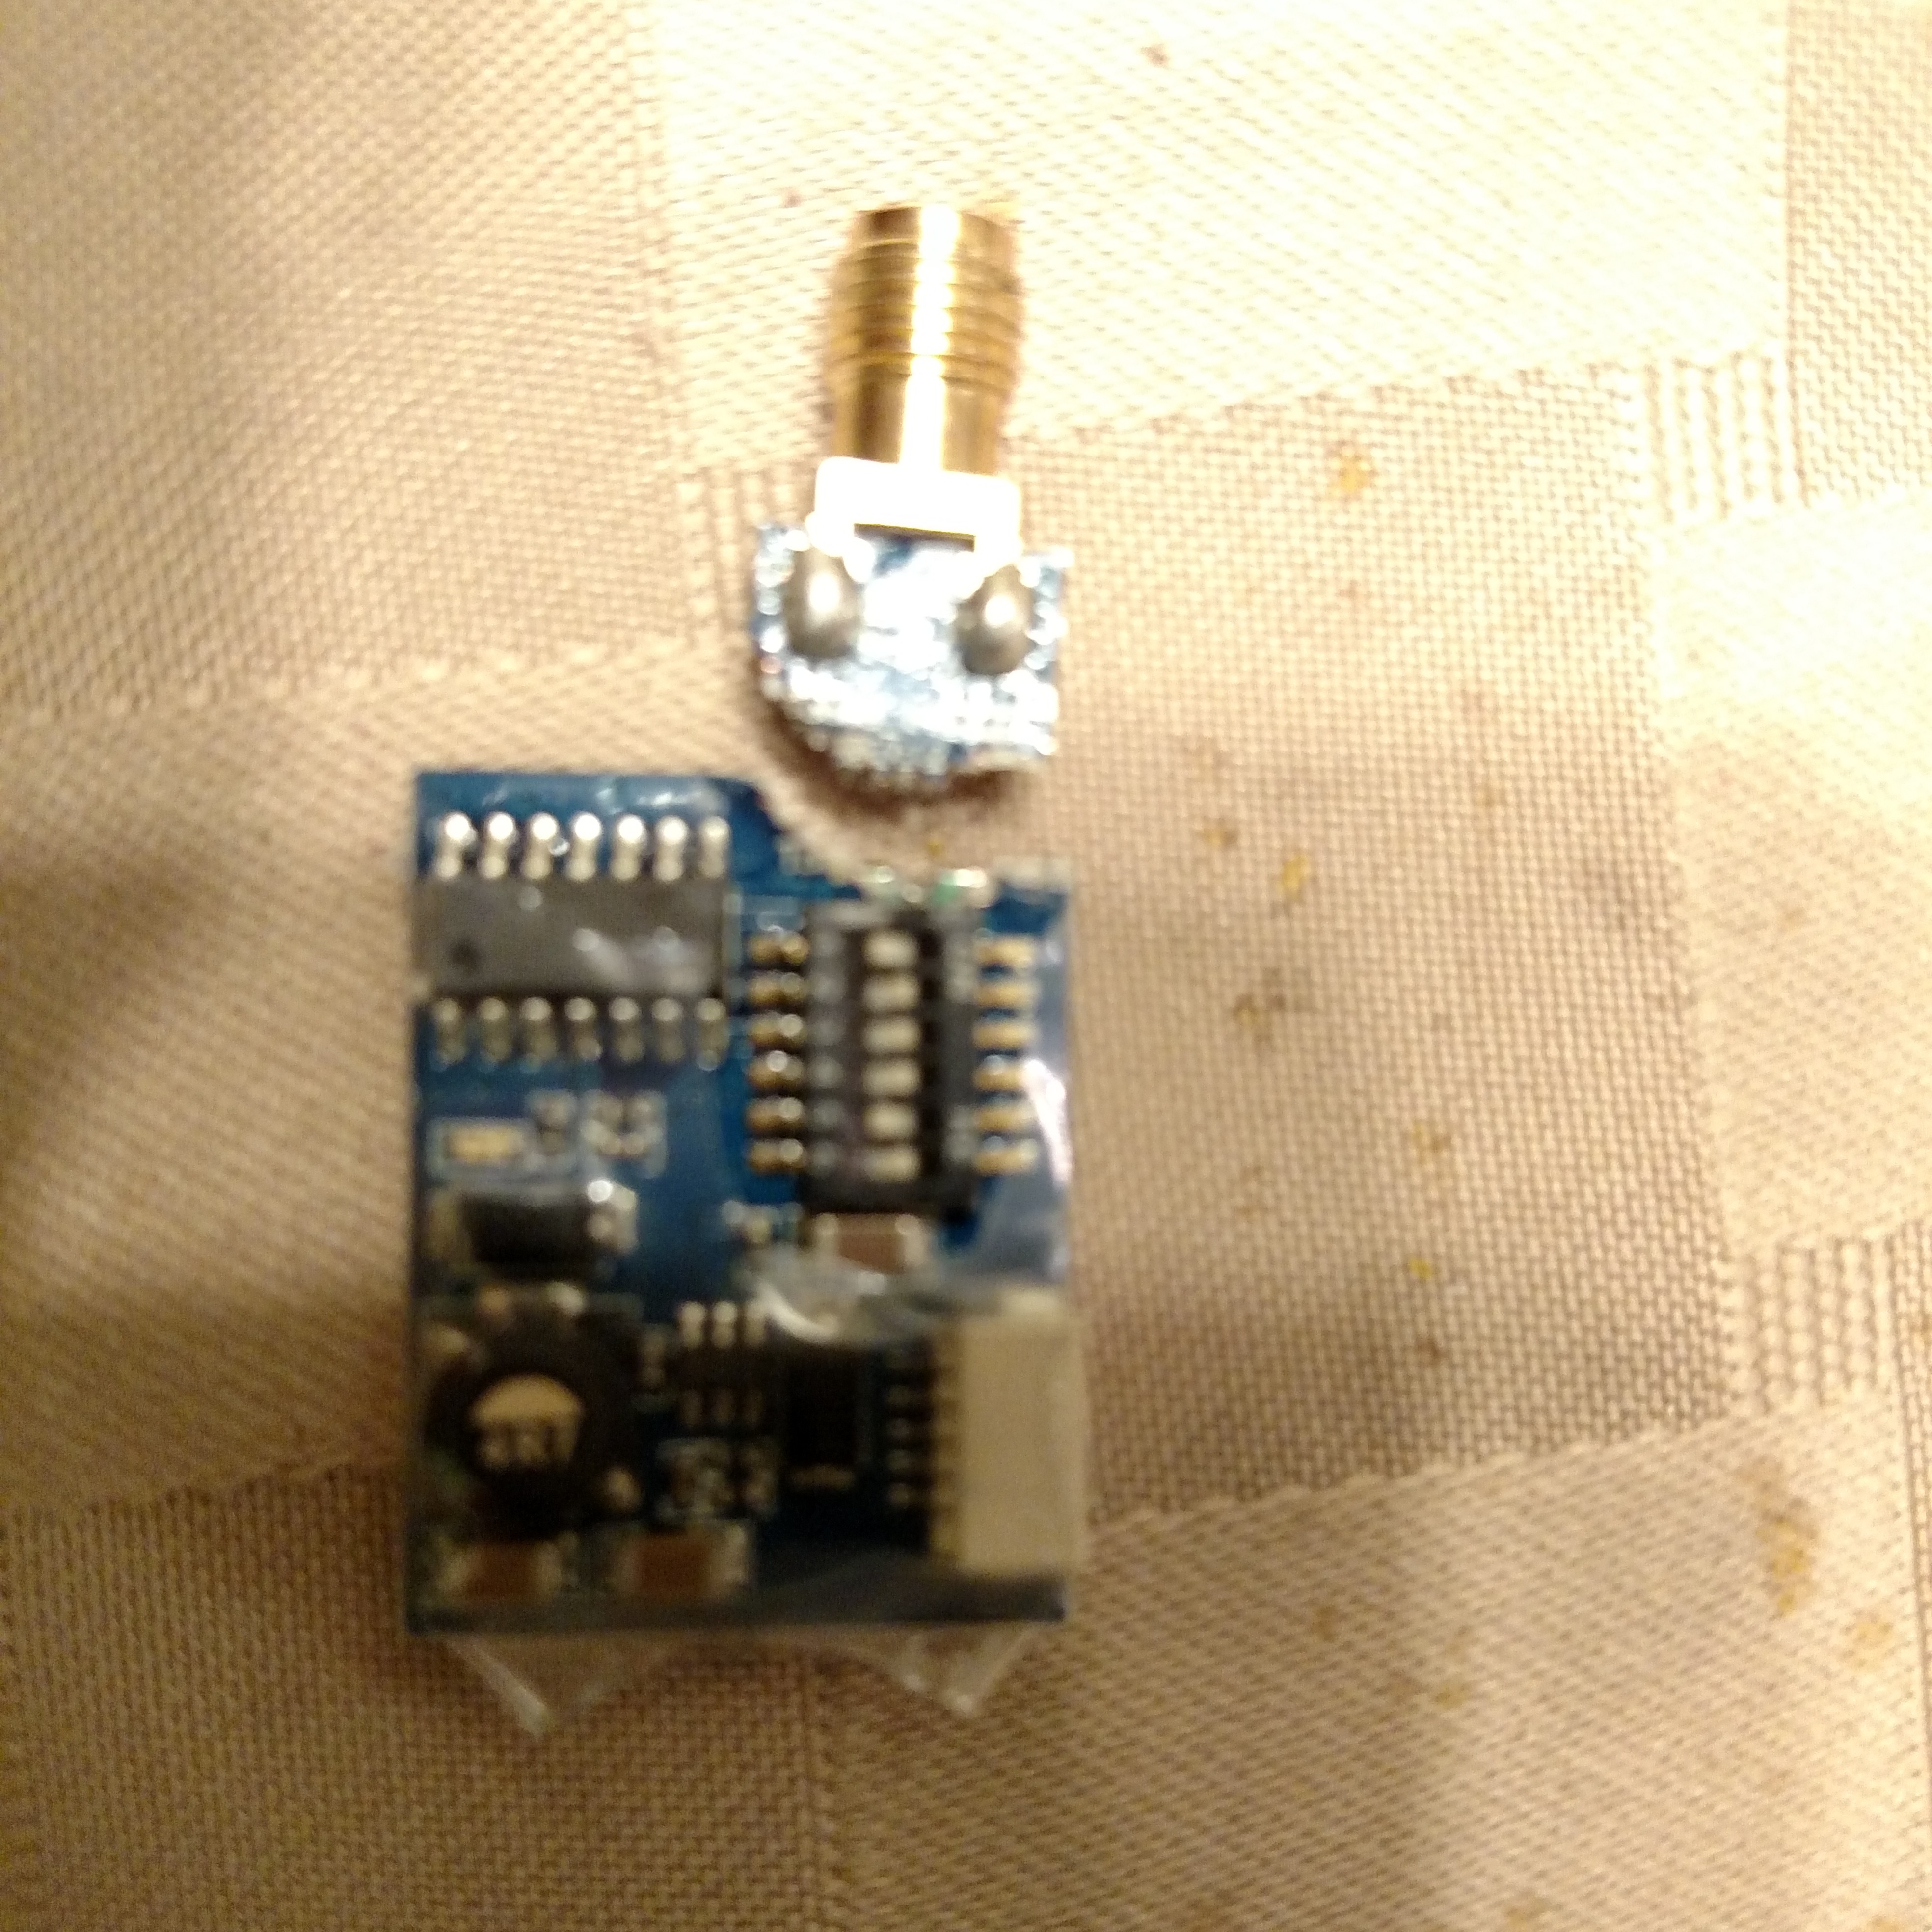
1 FPV transmitter – $19
http://www.hobbyking.com/hobbyking/store/__63114__SkyZone_TS5823_5_8GHz_32CH_A_V_200mW_Mini_FPV_Transmitter_v2_.html
or
http://www.amazon.com/gp/product/B00VE3QD9O
10 sets of 2 5040 blades – $8 (you only need 2 sets, but you’ll want tons of these)
http://www.banggood.com/6-Pairs-Gemfan-5040-CW-CCW-ABS-Propellers-For-ZMR250-QAV250-280-180-RC-Multirotors-p-1007458.html
or
http://www.hobbyking.com/hobbyking/store/__80963__Gemfan_5040_Multirotor_ABS_Propellers_Bulk_Pack_10_Pairs_CW_CCW_Black_.html
or
https://www.amazon.com/gp/product/B01FMY0F4O
3 female XT60 connectors – $2
http://www.banggood.com/Amass-XT60-MaleFemale-Bullet-Connector-Plugs-For-RC-Lipo-Battery-p-929670.html
or
http://www.hobbyking.com/hobbyking/store/__10414__Male_XT60_connectors_5pcs_bag_GENUINE.html
or
http://www.amazon.com/gp/product/B00W6AUSYU
10 JST connections – $3
http://www.banggood.com/Wholesale-10-Pairs-15cm-JST-Connector-Plug-With-Connect-Cable-For-RC-BEC-ESC-Battery-p-50810.html
or
https://www.amazon.com/gp/product/B00E7MXA2W
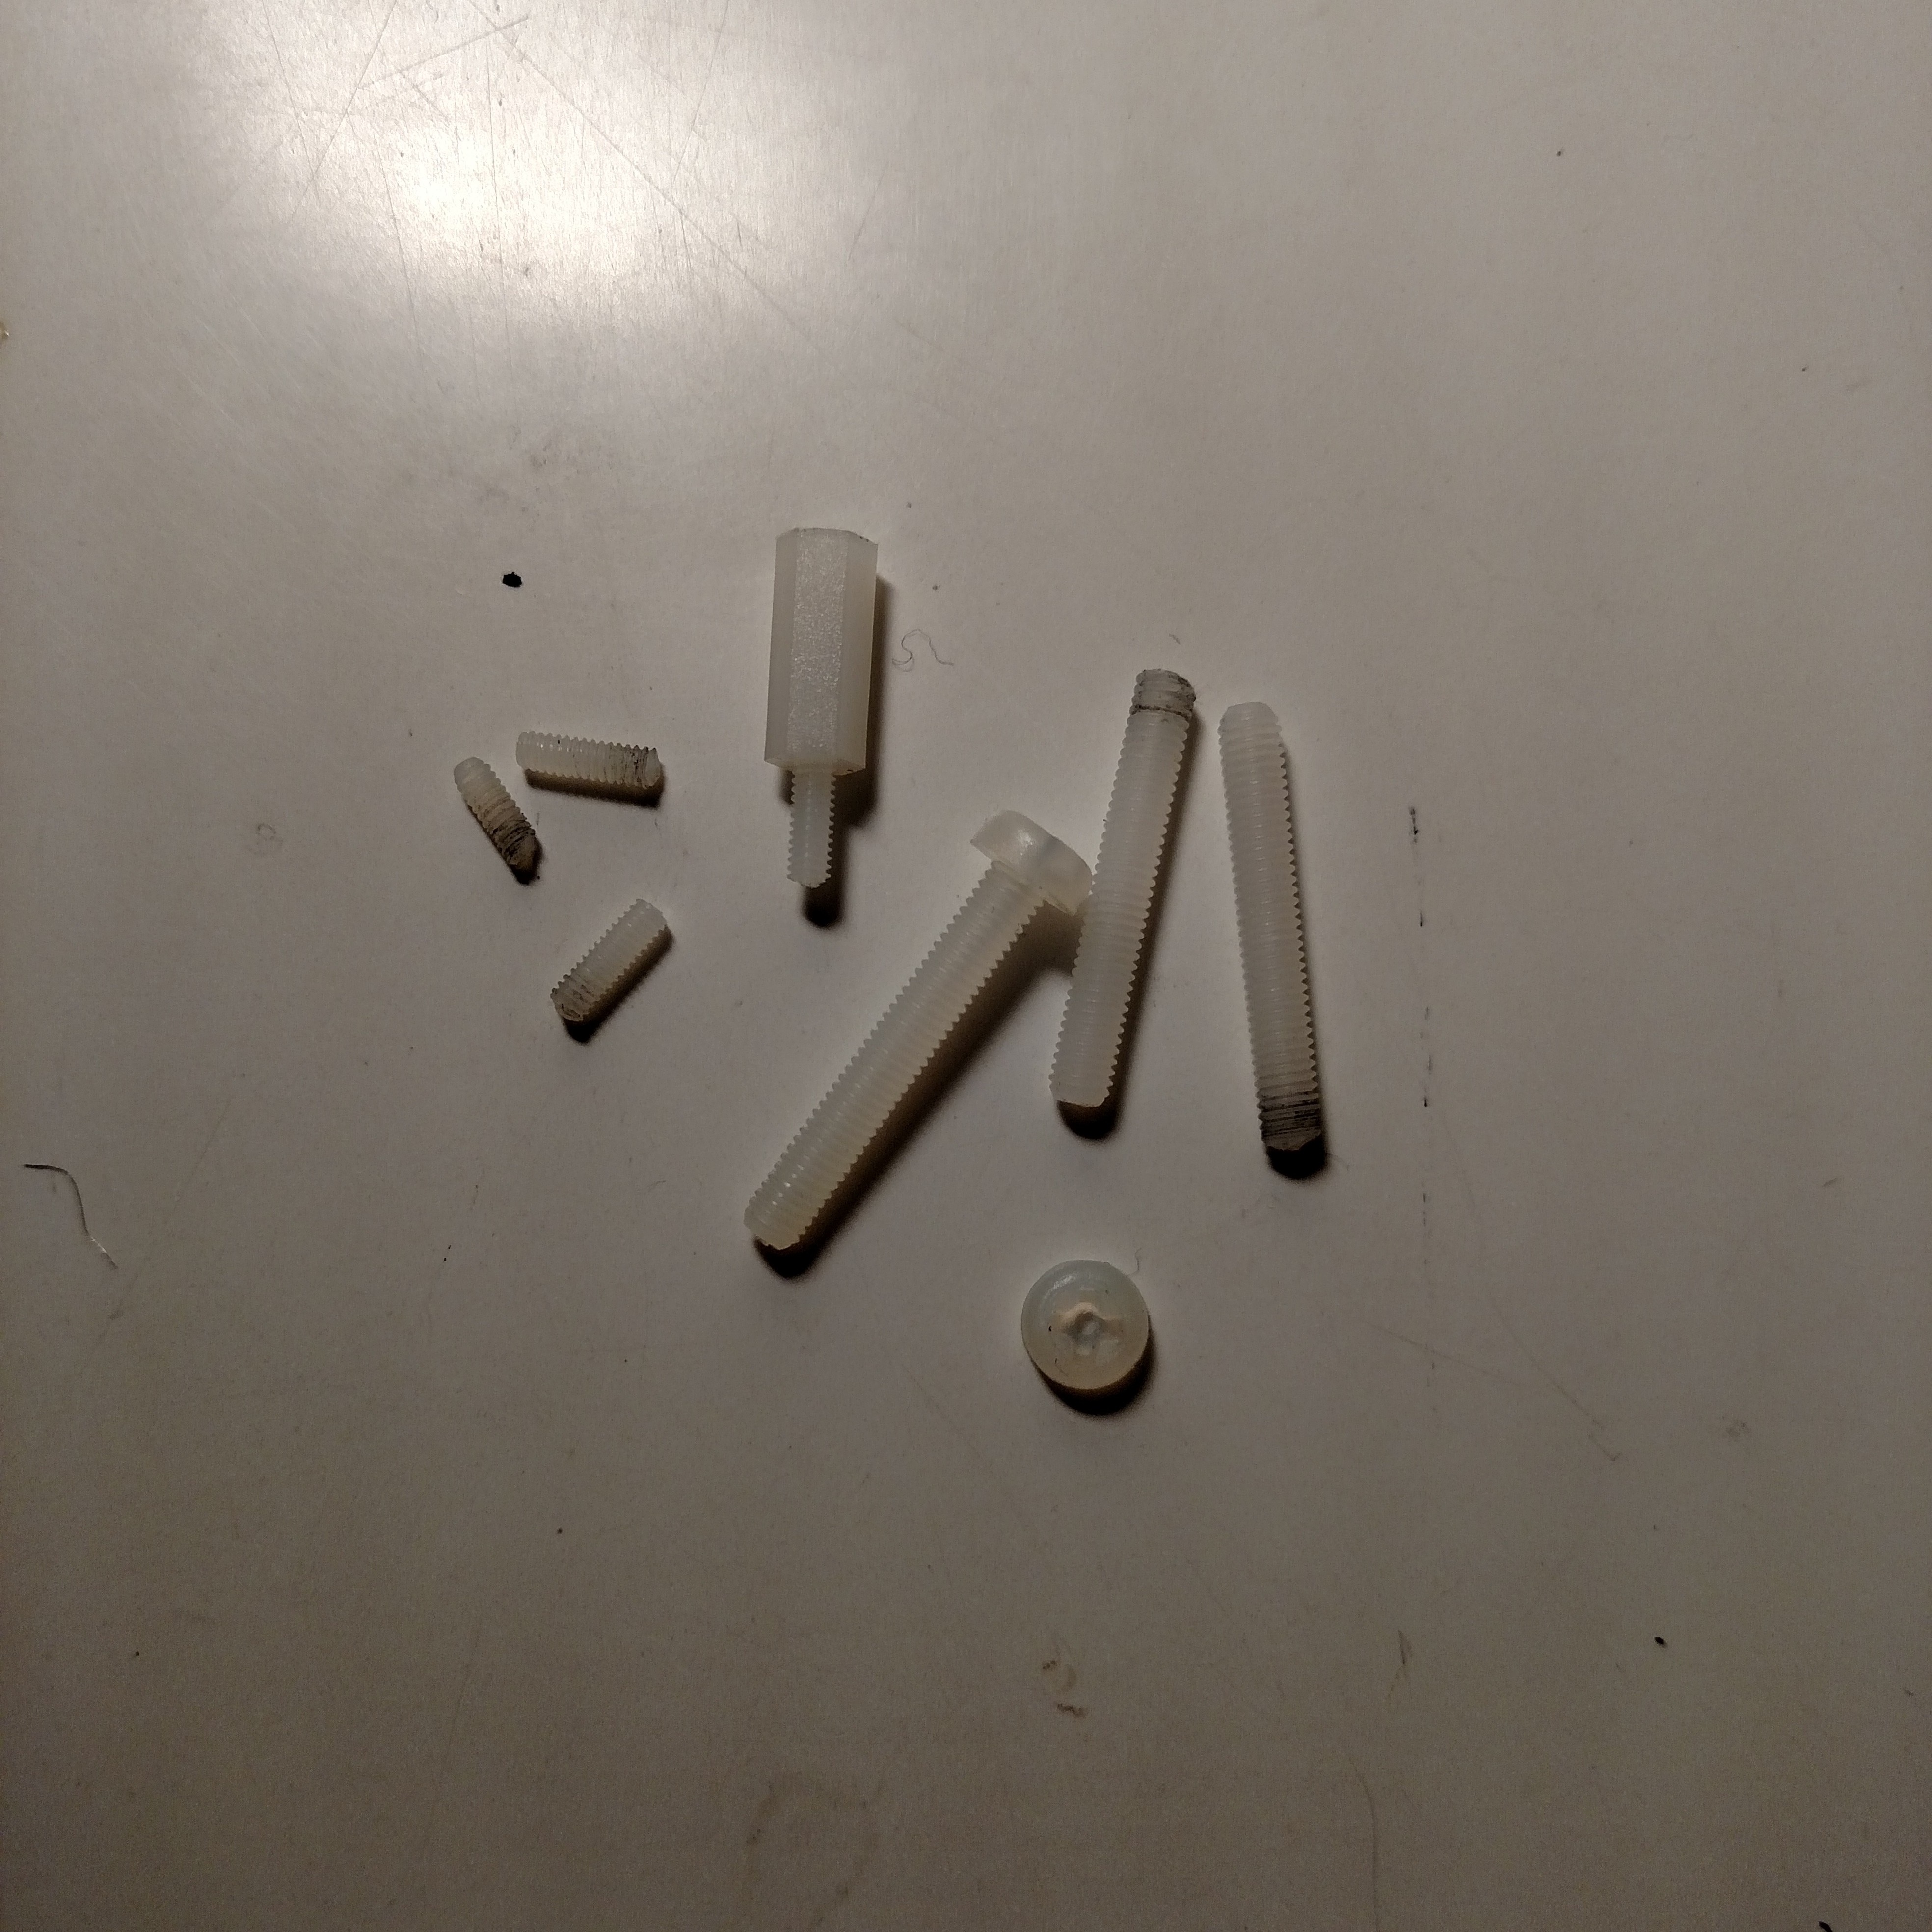
M2 and M3 standoffs – $12 (M2 standoffs for camera and M3 for the flight controller)
http://www.amazon.com/gp/product/B017QE9OU4
or
http://www.banggood.com/140pcs-M2-Nylon-Hex-Spacers-Screw-Nut-Assortment-Stand-off-Accessories-Kit-Set-p-996104.html
and
http://www.banggood.com/88pcs-M3-Nylon-Black-M-F-Hex-Spacers-Screw-Nut-Assortment-Kit-p-947169.html
1 meter of silicone wire – $1 (I found it helpful to get both red and black)
http://www.banggood.com/2M-AWG-Soft-Silicone-Flexible-Wire-Cable-12-20-AWG-1-Meter-Red-1-Meter-Black-p-985529.html
or
http://www.hobbyking.com/hobbyking/store/__78196__Turnigy_High_Quality_16AWG_Silicone_Wire_1m_Black_.html
or
http://www.amazon.com/gp/product/B0077E92C4
1 meter of LED lights – $3 (not required, but recommended – 1 meter is way more than needed)
http://www.banggood.com/5M-300-LEDs-SMD-3528-Flexible-LED-Strip-Light-Non-Waterproof-DC-12V-p-922277.html
or
http://www.hobbyking.com/hobbyking/store/__8941__Turnigy_High_Density_R_C_LED_Flexible_Strip_Red_1mtr_.html
or
https://www.amazon.com/gp/product/B01FHEJ3V0
1 set of 4 velcro – $3
http://www.hobbyking.com/hobbyking/store/__74090__Polyester_Velcro_Peel_n_stick_Black_1_Meter_.html
or
http://www.amazon.com/VELCRO-Sticky-Back-Strips-Black/dp/B000TGSPV6
Heat shrink – $5
http://www.banggood.com/328pcs-21-Polyolefin-Heat-Shrink-Tube-Sleeving-5-Color-8-Size-p-969574.html
or
http://www.amazon.com/Anytime-Tools-Shrink-Sleeve-Assorted/dp/B008WWC6FU
1 copper pcb to use as power distribution board – $3 (I did not use, but I wish I did since it would have things easier than soldering all the wires together)
http://www.amazon.com/Water-Single-Copper-Laminate-Circuit/dp/B00P26EQNE
1 battery strap – $2 (I made my own, but I would recommend buying one since my battery comes off on hard crashes)
http://www.banggood.com/Nylon-Velcro-Lipo-Battery-2cm30cm-Ribbon-Fastener-Magic-Sticker-Strap-p-922923.html
or
http://www.hobbyking.com/hobbyking/store/__90954__Scorpion_Locking_Velcro_Battery_Strap_Set.html
or
https://www.amazon.com/gp/product/B01ANOKKTS
Accessories ($322 + shipping):
2 batteries – $31 (one for Goggles and one for the quad – you’ll probably want more of these – the battery for the Googles needs to be 3s, but the quad can handle 3s or 4s)
http://www.hobbyking.com/hobbyking/store/__18207__Turnigy_nano_tech_1300mAh_3S_45_90C_Lipo_Pack.html
or
http://www.amazon.com/gp/product/B00TDH7WB6
1 battery charger – $27 (you also need to buy a connector for XT60 or cut the wires and solder on a XT60 connector like I did – XT60 connectors already listed above)
http://www.hobbyking.com/hobbyking/store/__58315__Turnigy_P405_Dual_Input_AC_DC_45W_Digital_Balancing_Charger_.html
1 controller – $207 (a cheeper alternative would the Taranis Q X7)
http://www.banggood.com/FrSky-2_4G-ACCST-Taranis-X9D-Plus-Transmitter-p-940819.html
or
http://www.hobbyking.com/hobbyking/store/__67750__FrSky_2_4GHz_ACCST_TARANIS_X9D_PLUS_Digital_Telemetry_Radio_System_Mode_2_.html
or
https://www.amazon.com/gp/product/B014IYV8TK
1 controller charger – $7 (if the one you choose doesn’t come with one)
http://www.hobbyking.com/hobbyking/store/__45031__FrSky_AC_DC_Charge_Adapter_US_Version.html
or
http://www.amazon.com/gp/product/B010HDI4QG
1 goggles – $32 (these are the first ones I used and they work ok, but I would recommend the Quanum v2 Goggles)
http://www.hobbyking.com/hobbyking/store/__53706__Quanum_DIY_FPV_Goggle_Set_with_Monitor_KIT_.html
or
http://www.amazon.com/gp/product/B00YPZ9N4A
1 FPV receiver – $17
http://www.hobbyking.com/hobbyking/store/__15415__SkyZone_RC305_5_8Ghz_8_Channel_AV_Receiver.html
or
https://www.amazon.com/gp/product/B00OZQYGSW
1 male to male RCA cable/connector – $1 (the goggles and FPV receiver both have female RCA video cables so you’ll need a way to connect them – I made my own male to male connection, but the one linked should work)
http://www.banggood.com/Male-to-Male-RCA-Phono-Coupler-AV-Audio-Adapter-Connector-Nickel-p-968256.html
or
http://www.hobbyking.com/hobbyking/store/__34746__RCA_Male_to_RCA_Male_A_V_Coupler_Adaptor_3pc_.html
or
http://www.amazon.com/Pieces-Male-Coupler-Connector-Adapter/dp/B007PQ0K1G
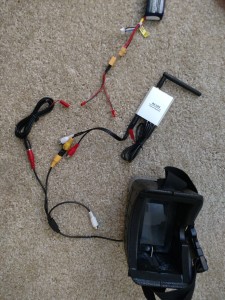
You’ll also need to solder a XT60 connector that goes to 2 JST connections (both already listed above) so your screen and your receiver share the same battery- see pictures (they don’t necessarily have to share the same battery, but they need to share the same ground wire)
I would also recommend getting a Lipo Battery Tester Monitor Low Voltage Buzzer , but it isn’t required. This will make it easy to check the voltage of your battery and individual cells without connecting it to the charger. Also, if don’t set up telemetry you can mounted this to your quad so you have a battery warning buzzer to help you avoid damaging your lipo batteries by running them too low.
Tools ($76 + shipping):
1 knife – $7
http://www.amazon.com/gp/product/B006962HWI
1 soldering iron – $8
https://www.amazon.com/gp/product/B0006NGZK0
Soldering wire – $2
http://www.banggood.com/0_8mm-Soldering-Wire-60-40-Tin-Resin-Flux-Dispenser-Tube-Rosin-Core-Solder-p-990164.html
or
http://www.amazon.com/gp/product/B008OSBBI0
Zip ties – $2 (I used tons of these)
http://www.hobbyking.com/hobbyking/store/__17570__Cable_Ties_160_x_2_5mm_White_100pcs_.html
or
http://www.amazon.com/gp/product/B00L2LGMO4
Loctite – $8
http://www.amazon.com/Loctite-1363589-4-Gram-Control-Adhesive/dp/B003Y49R7G
Metric allen keys – $15 (I already had these)
http://www.amazon.com/TEKTON-25253-Hex-Wrench-30-Piece/dp/B00I5TH074
Wrench – $10 (socket wrench would be better, but a wrench works – I already had one and a socket wrench set)
https://www.amazon.com/gp/product/B00002N5L0
Electrical tape – $8 (I used electrical tape from HomeDepot, but many people have recommended liquid electrical tape)
http://www.amazon.com/Star-brite-Liquid-Electrical-Tape/dp/B000XBDK7G
Wire cutters – $11 (not needed since you have the knife, but they will make things easier – I already had some)
http://www.amazon.com/Rapala-7-Inch-Side-Cutter/dp/B0015NBL0E
Android cable – $5 (for connecting the flight board to your computer – I already had one)
http://www.amazon.com/Micro-Charge-Techoland-Enhance-Experience/dp/B00W1VC2TS
Computer – I’m going to assume you have one (needed for running base flight)
Pictures:
Goggles and FPV receiver
Quadcopter


I put together a list of backup parts you should consider getting in this blog post: http://copterwars.com/blog/?p=148
If you want to read about the upgrades I made over the first 6 months of regularly flying this build checkout this blog post:
http://copterwars.com/blog/?p=56


